
Wan 3.0 Video to Video: Restyle Footage You Filmed
Already have a take you like? Change how it looks instead of building the shot again from words. The motion and timing stay, the style changes. Keep the original open beside every try so your notes stay specific. You can create up to 1080p video and clips up to 30 seconds.
 Wan 3.0Multi-Input AI Video Generator
Generate new videos from reference videos with switchable models
Upload 1-5 MP4/MOV reference videos. Each must be 1-15 seconds and no more than 100 MB; total video duration must not exceed 15 seconds
Upload up to 10 reference images.
Upload up to 5 audio files. Total reference audio duration must not exceed 15 seconds.
Tip: Be detailed and specific for better results. Describe the subject, style, lighting, mood, and composition.
No reference video selected. Output can be 2-30s.
Example Gallery
See what you can create with video to-video
Gallery
Scroll through sample clips. Tap any video to open it full screen.
All videos and images shown are AI-generated synthetic content and do not depict real people or real events unless explicitly stated otherwise.
Showcase
Browse sample AI video clips. Click any tile to play the full clip.
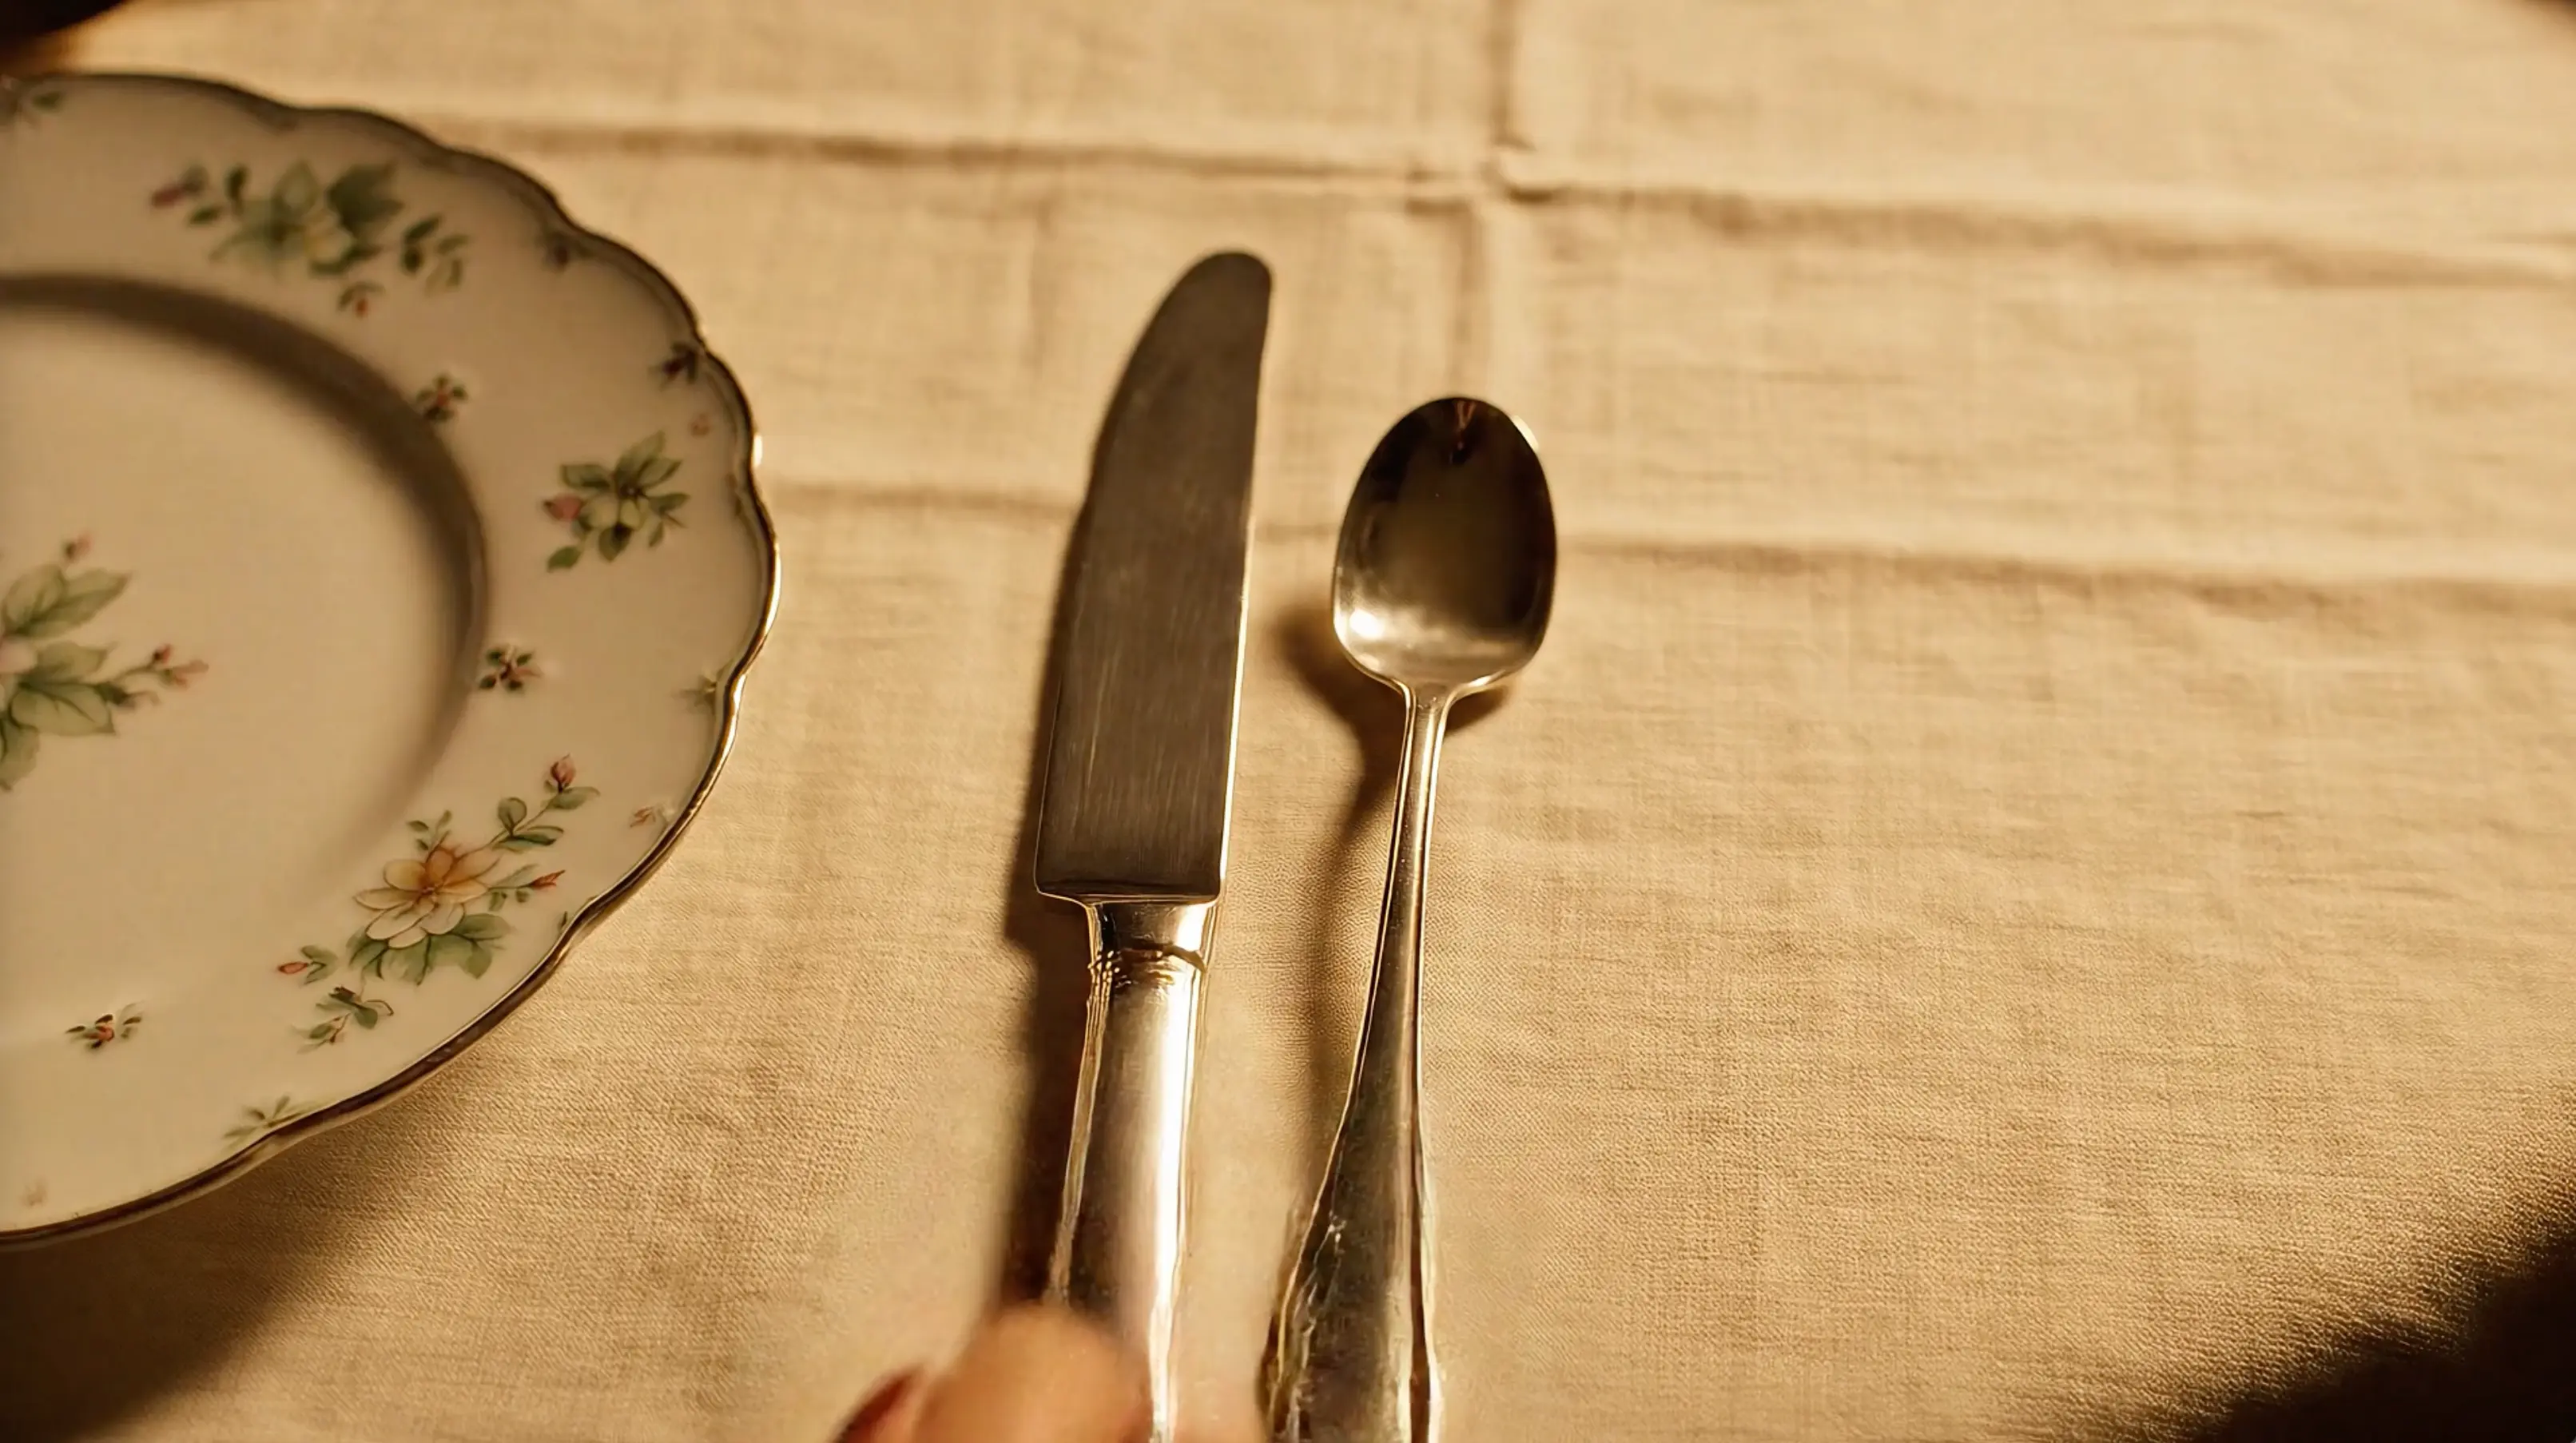
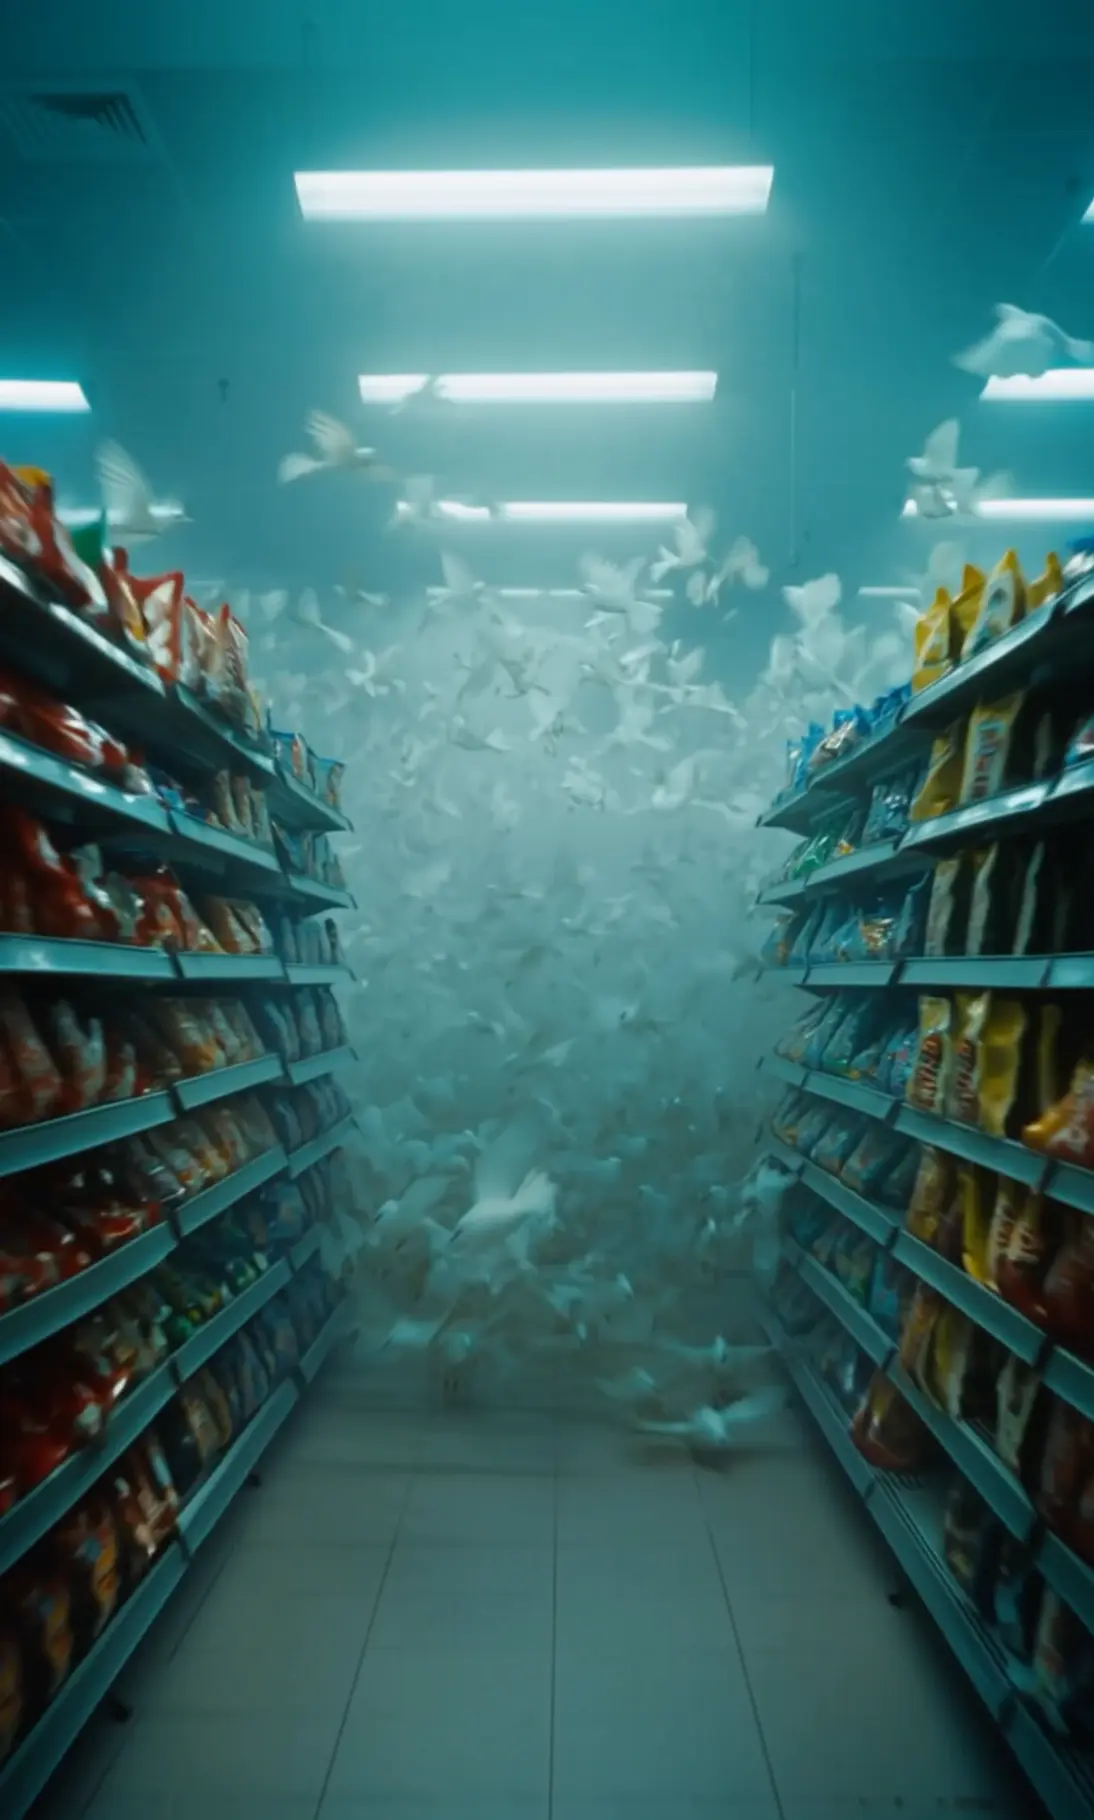
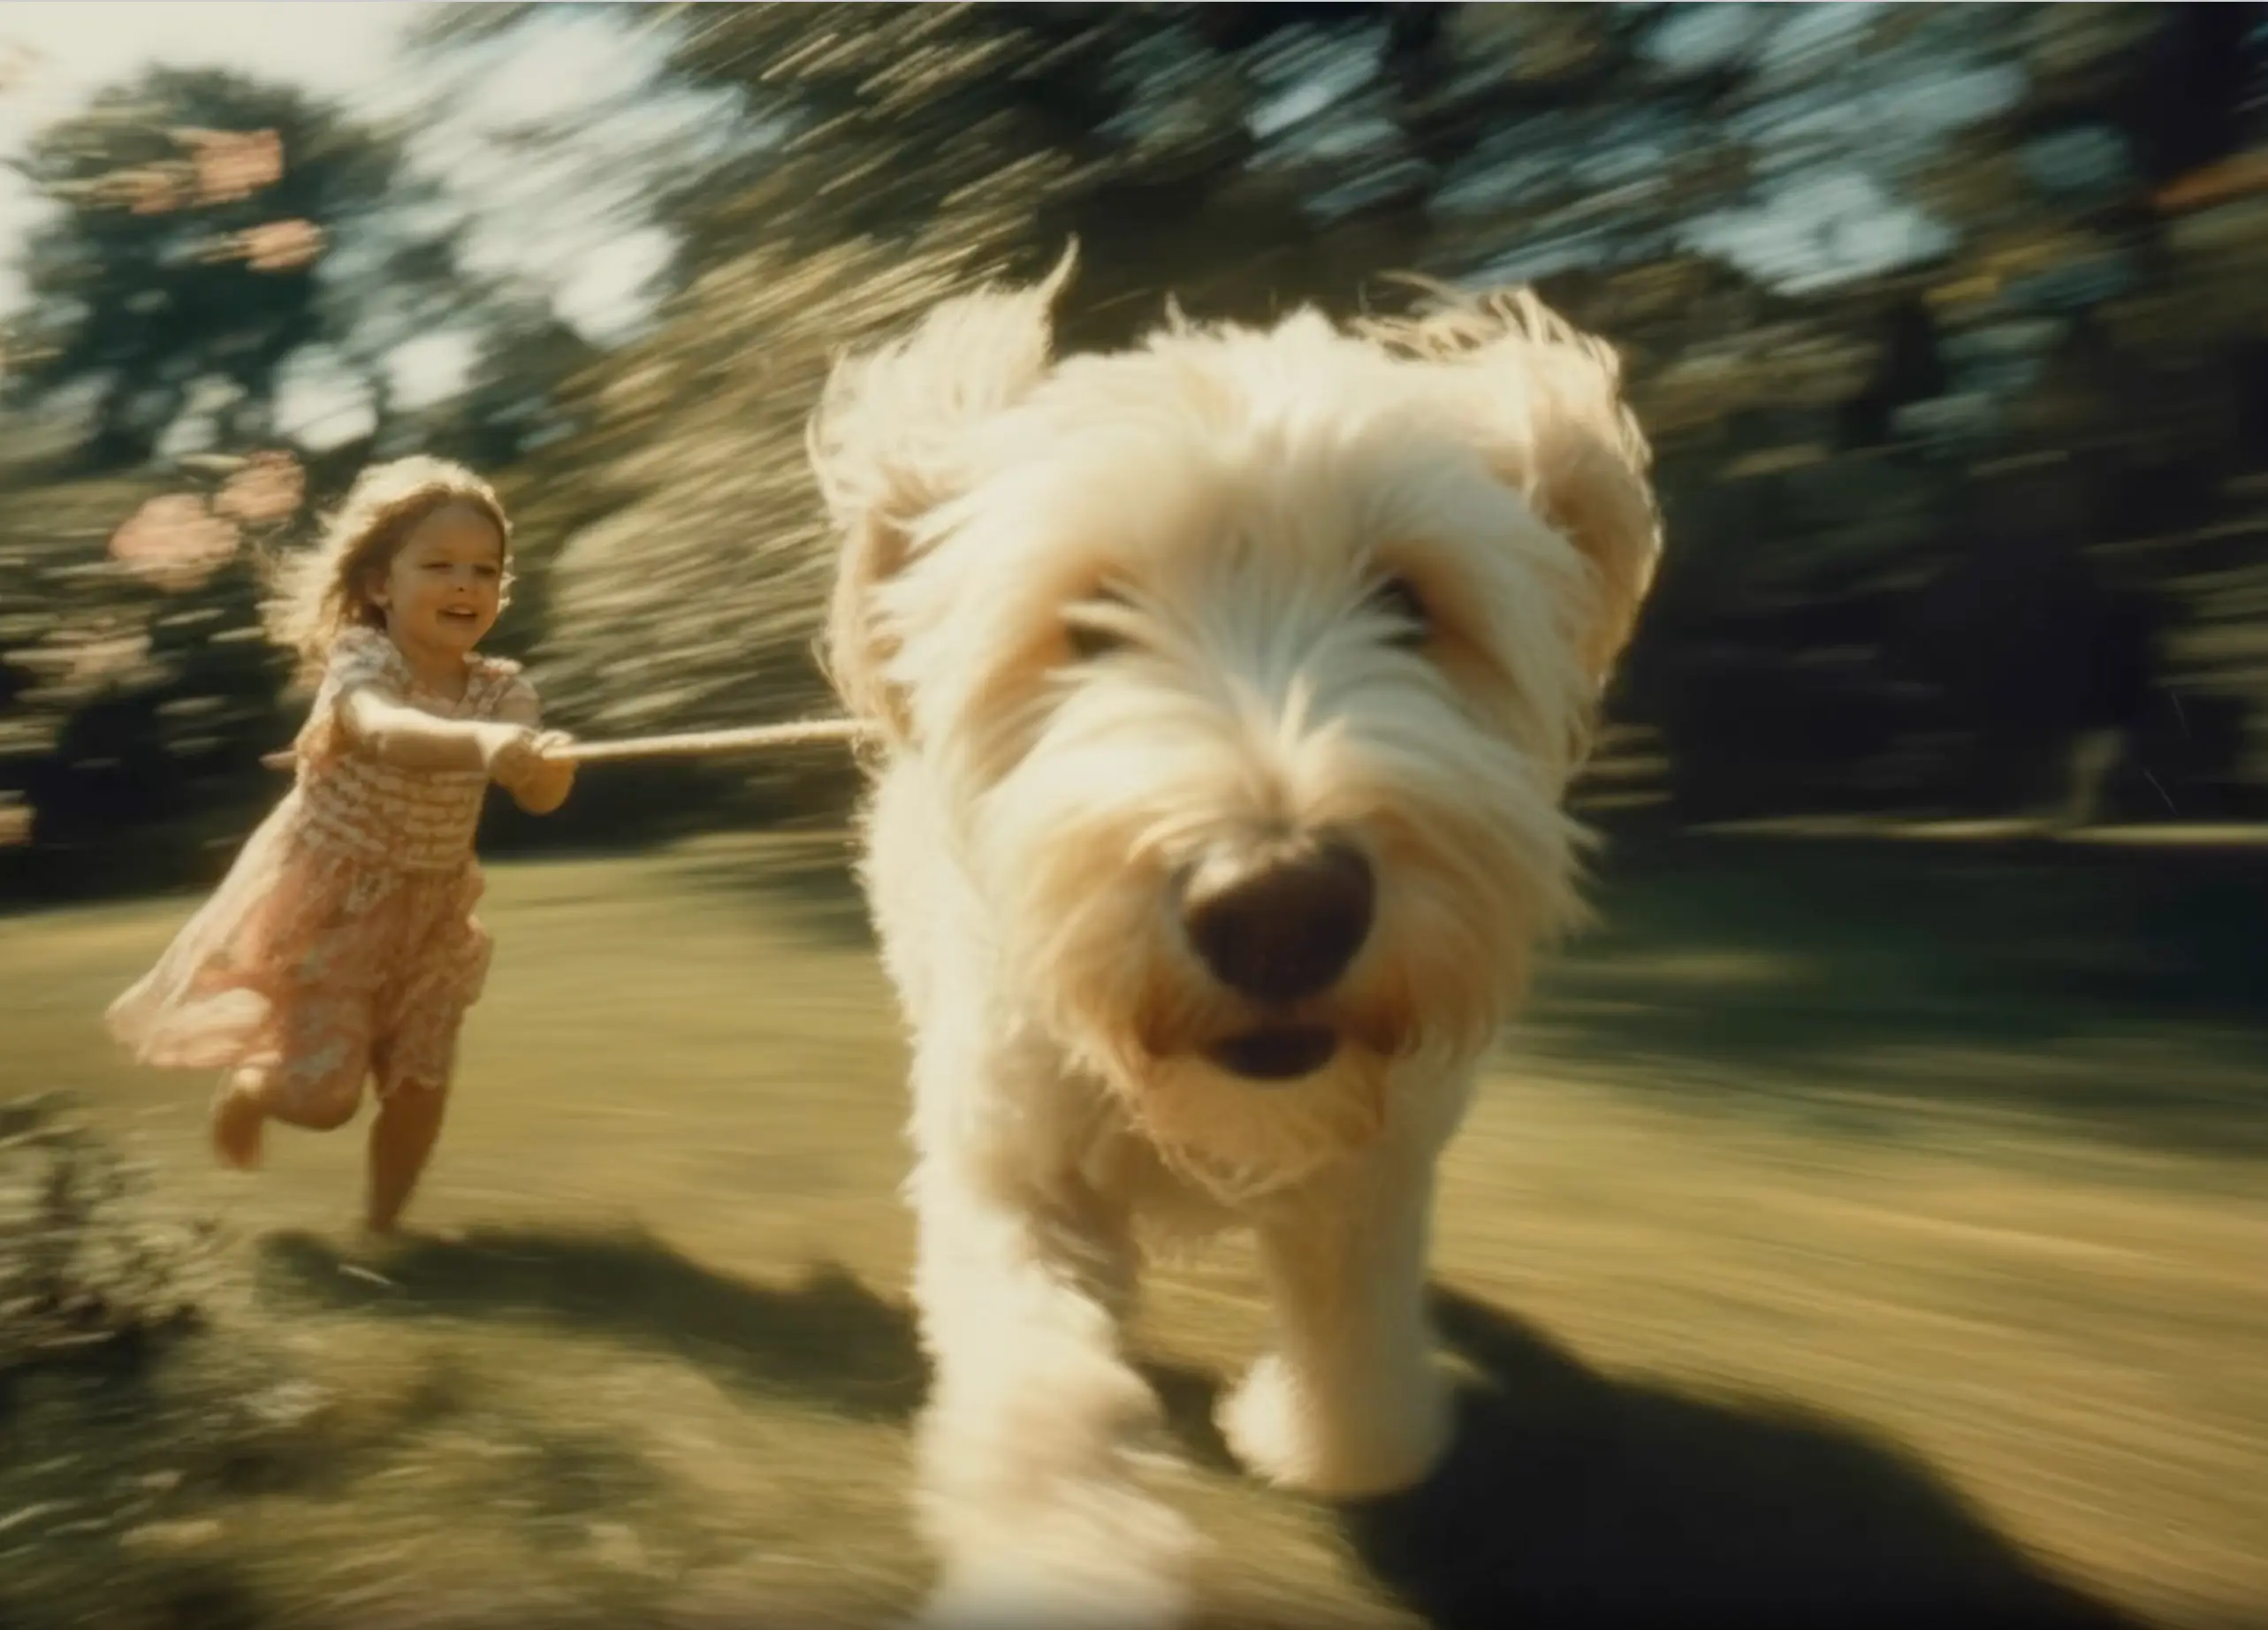
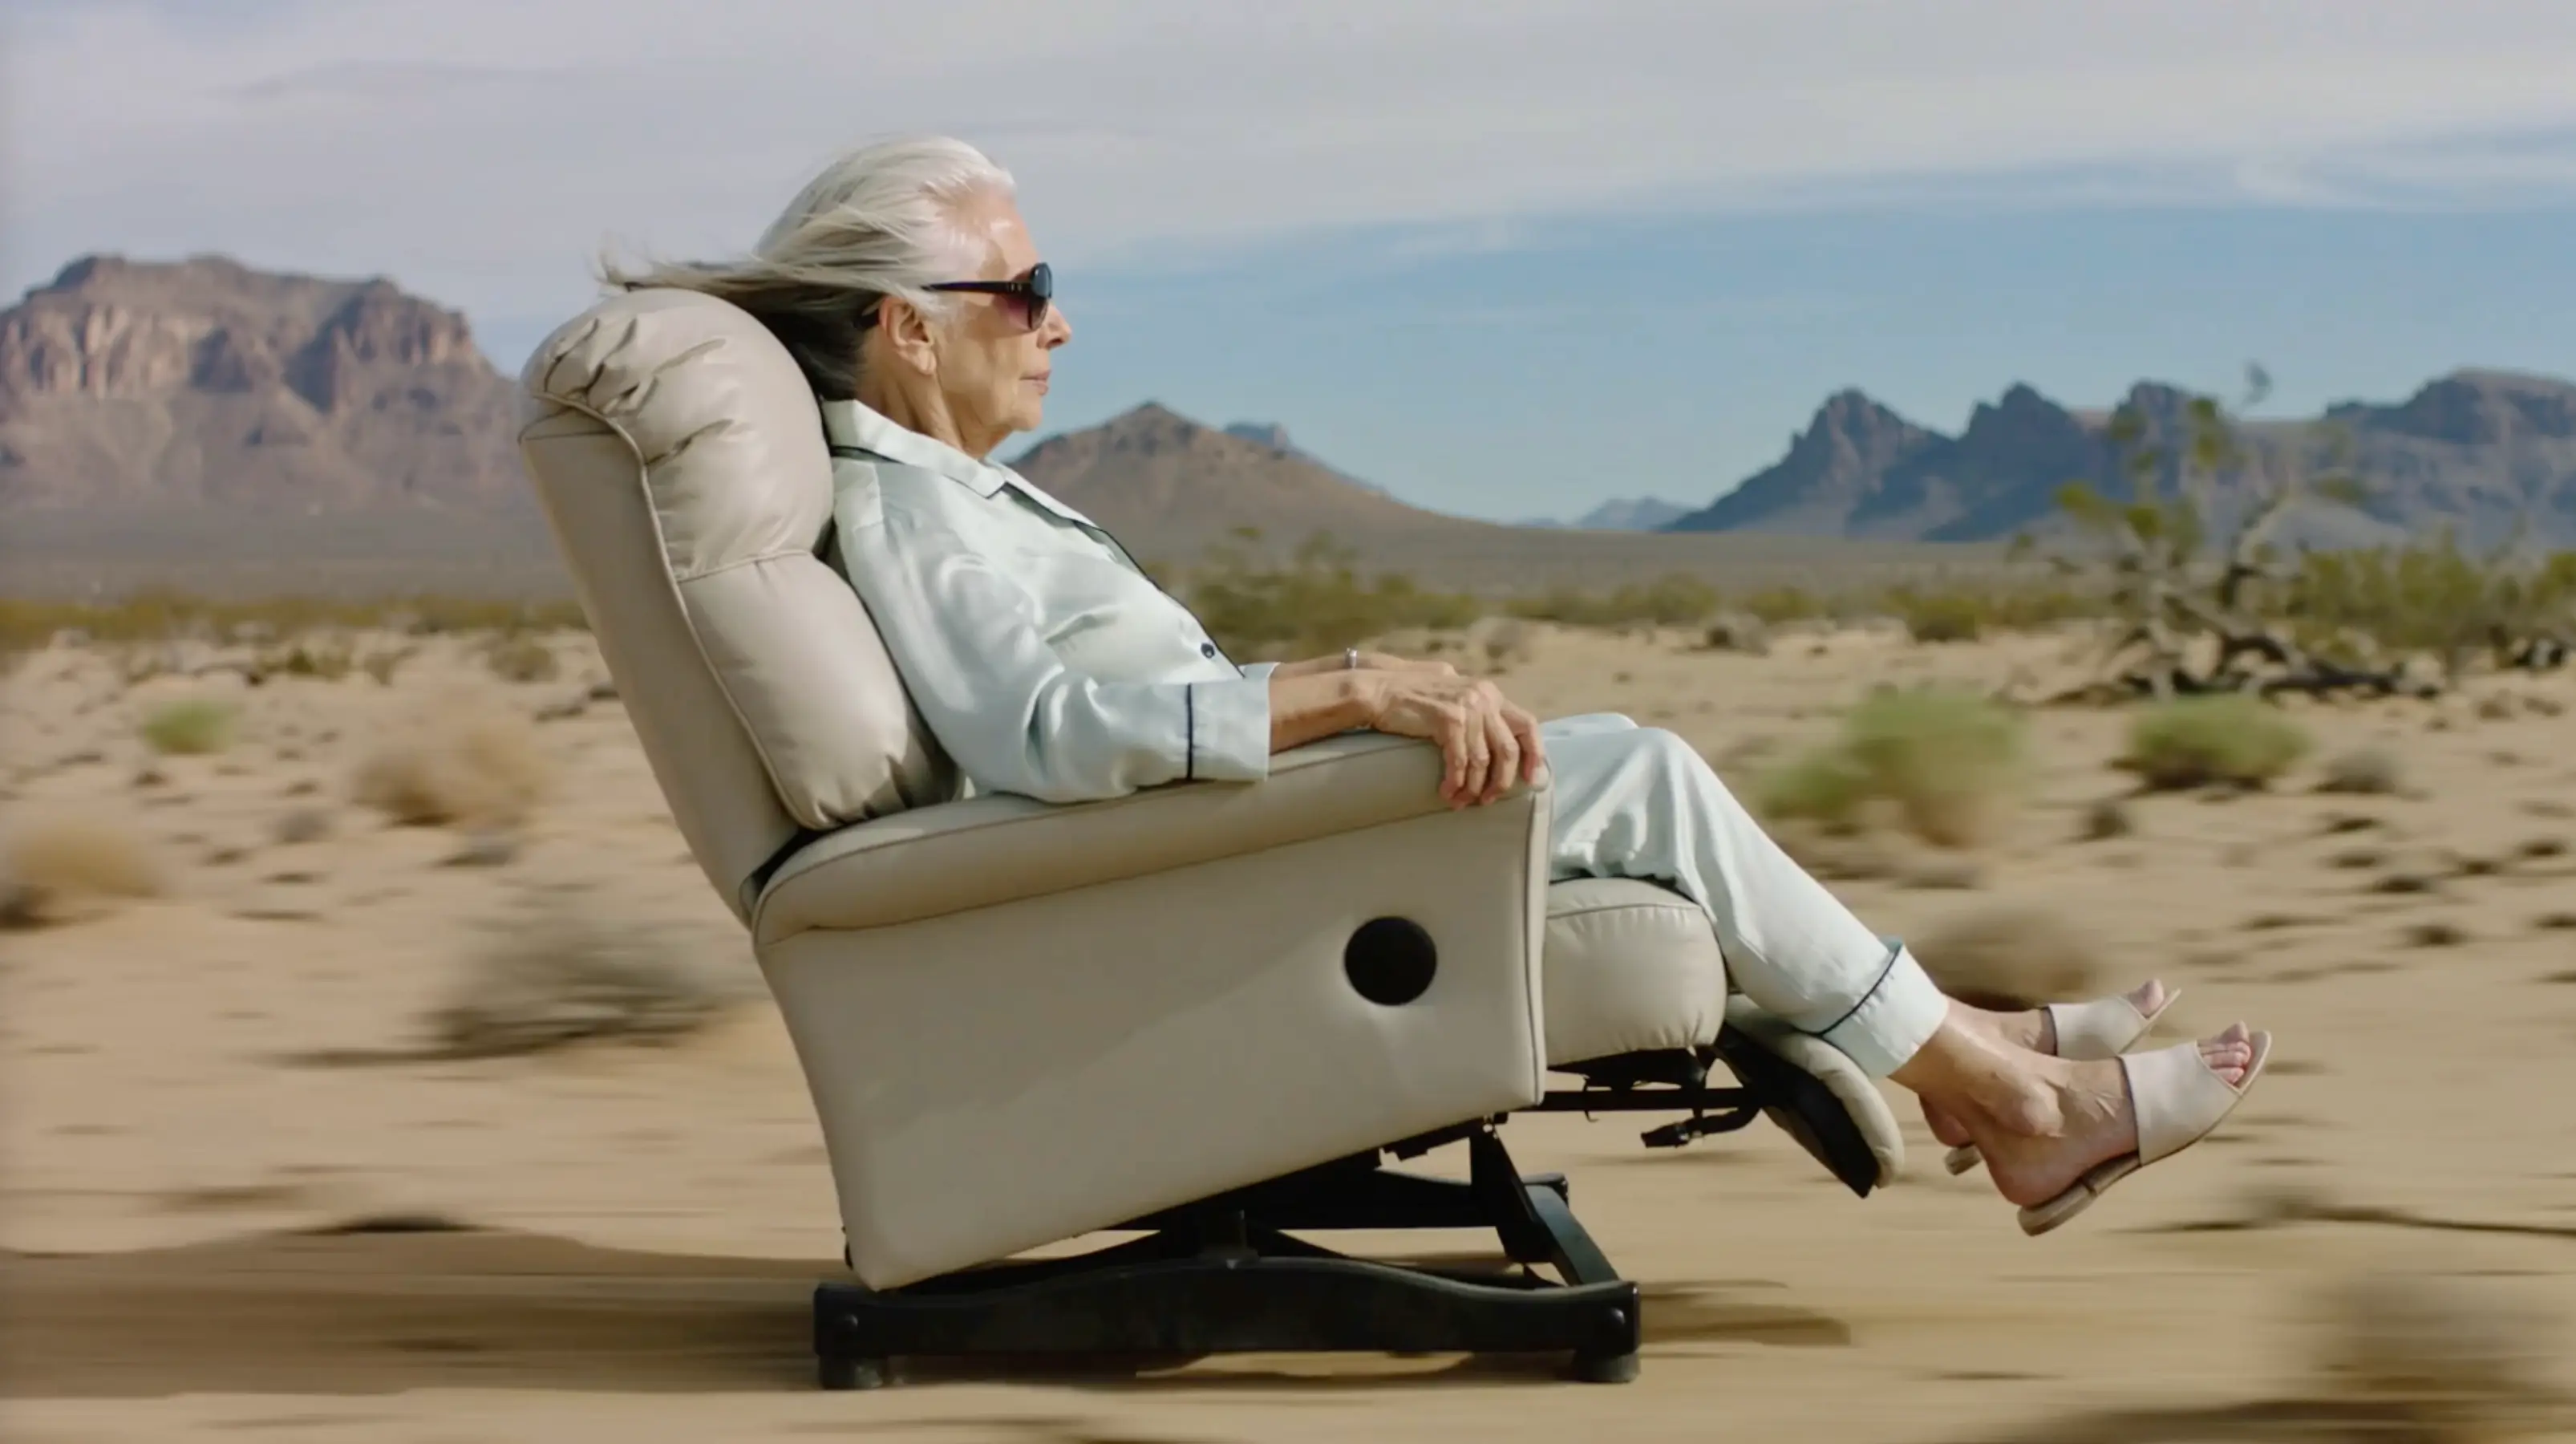
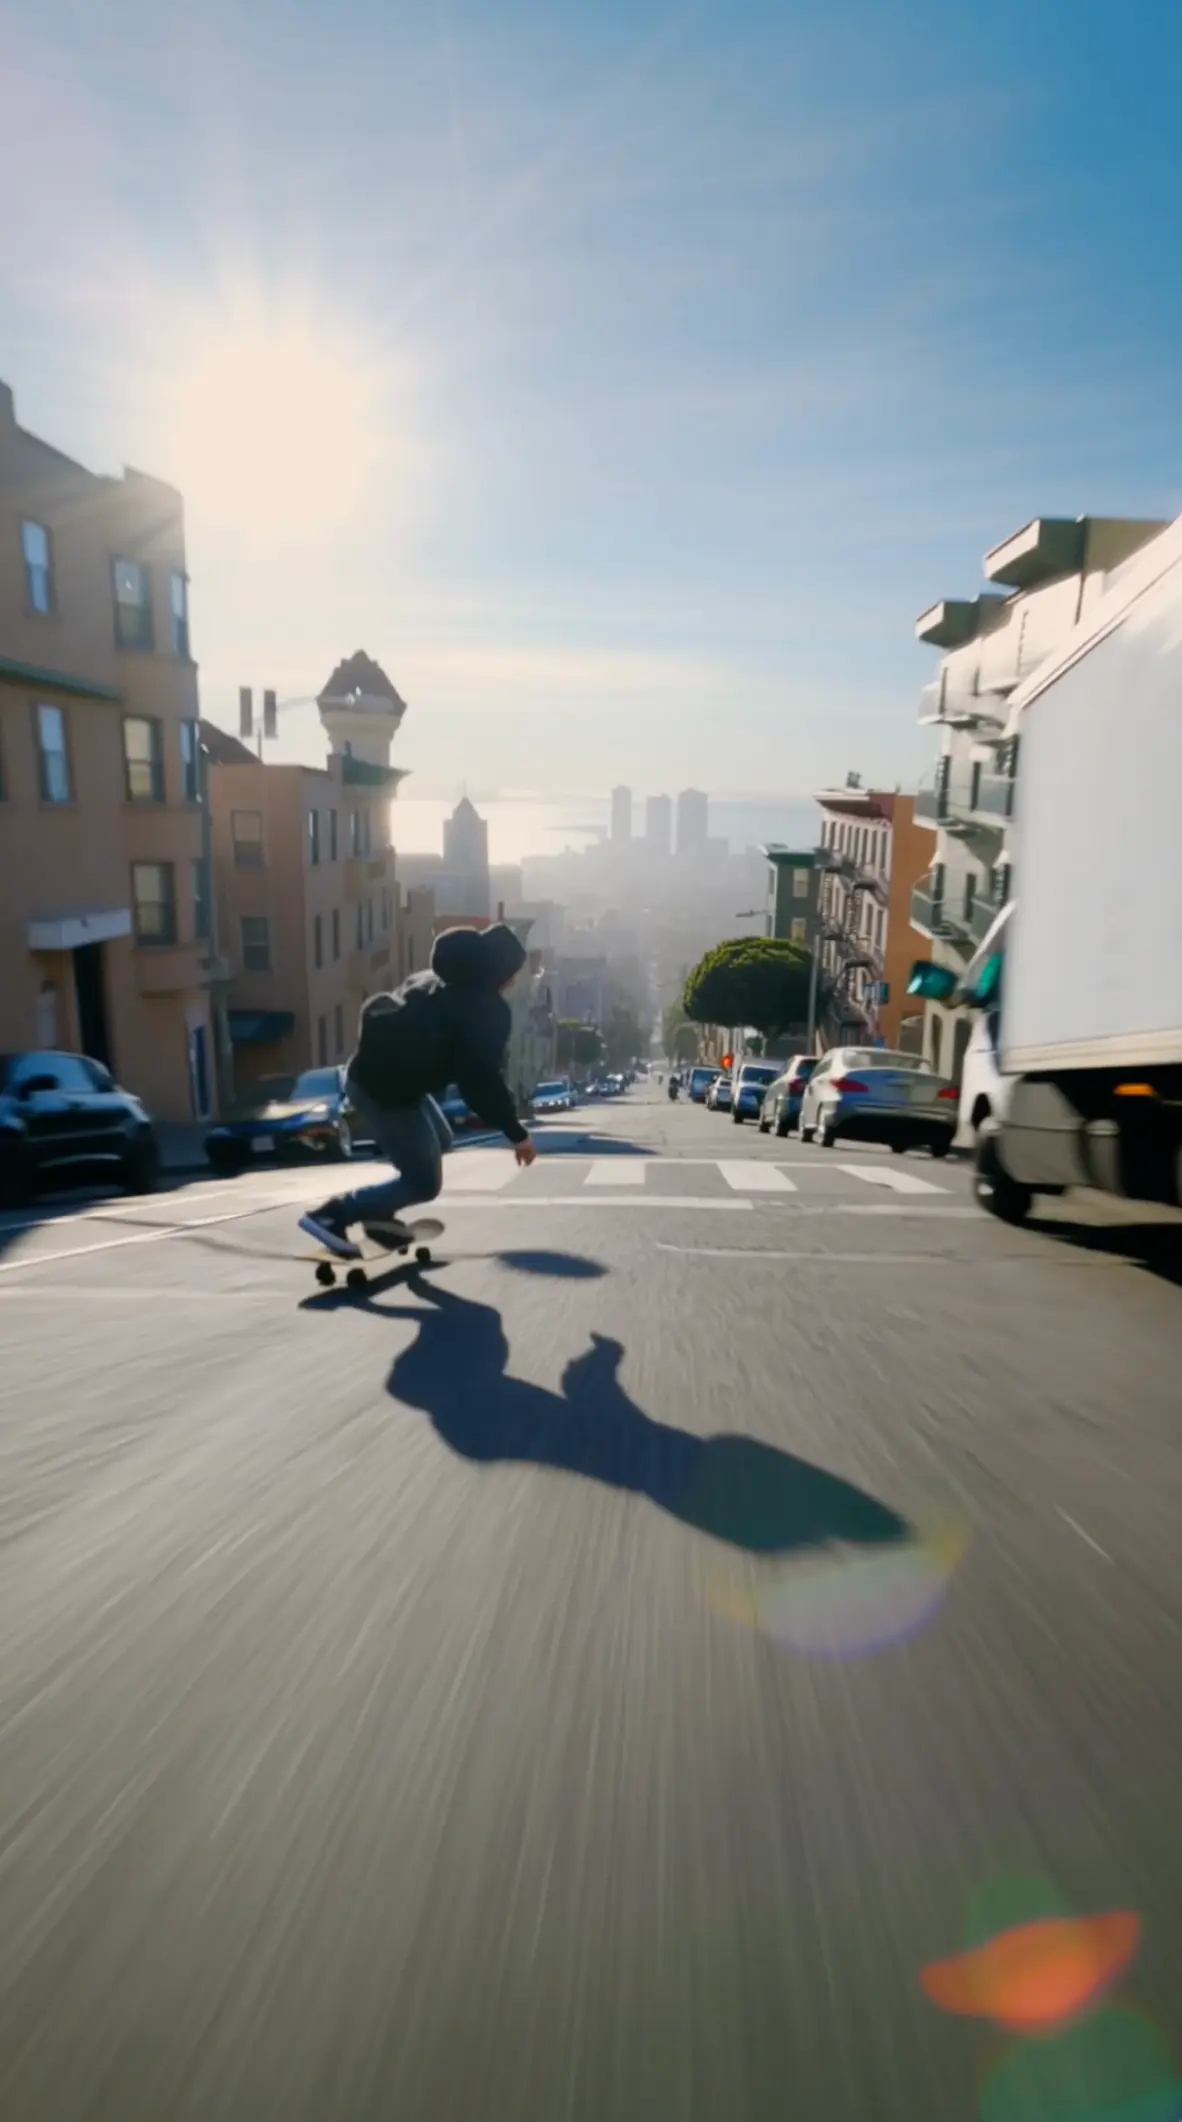
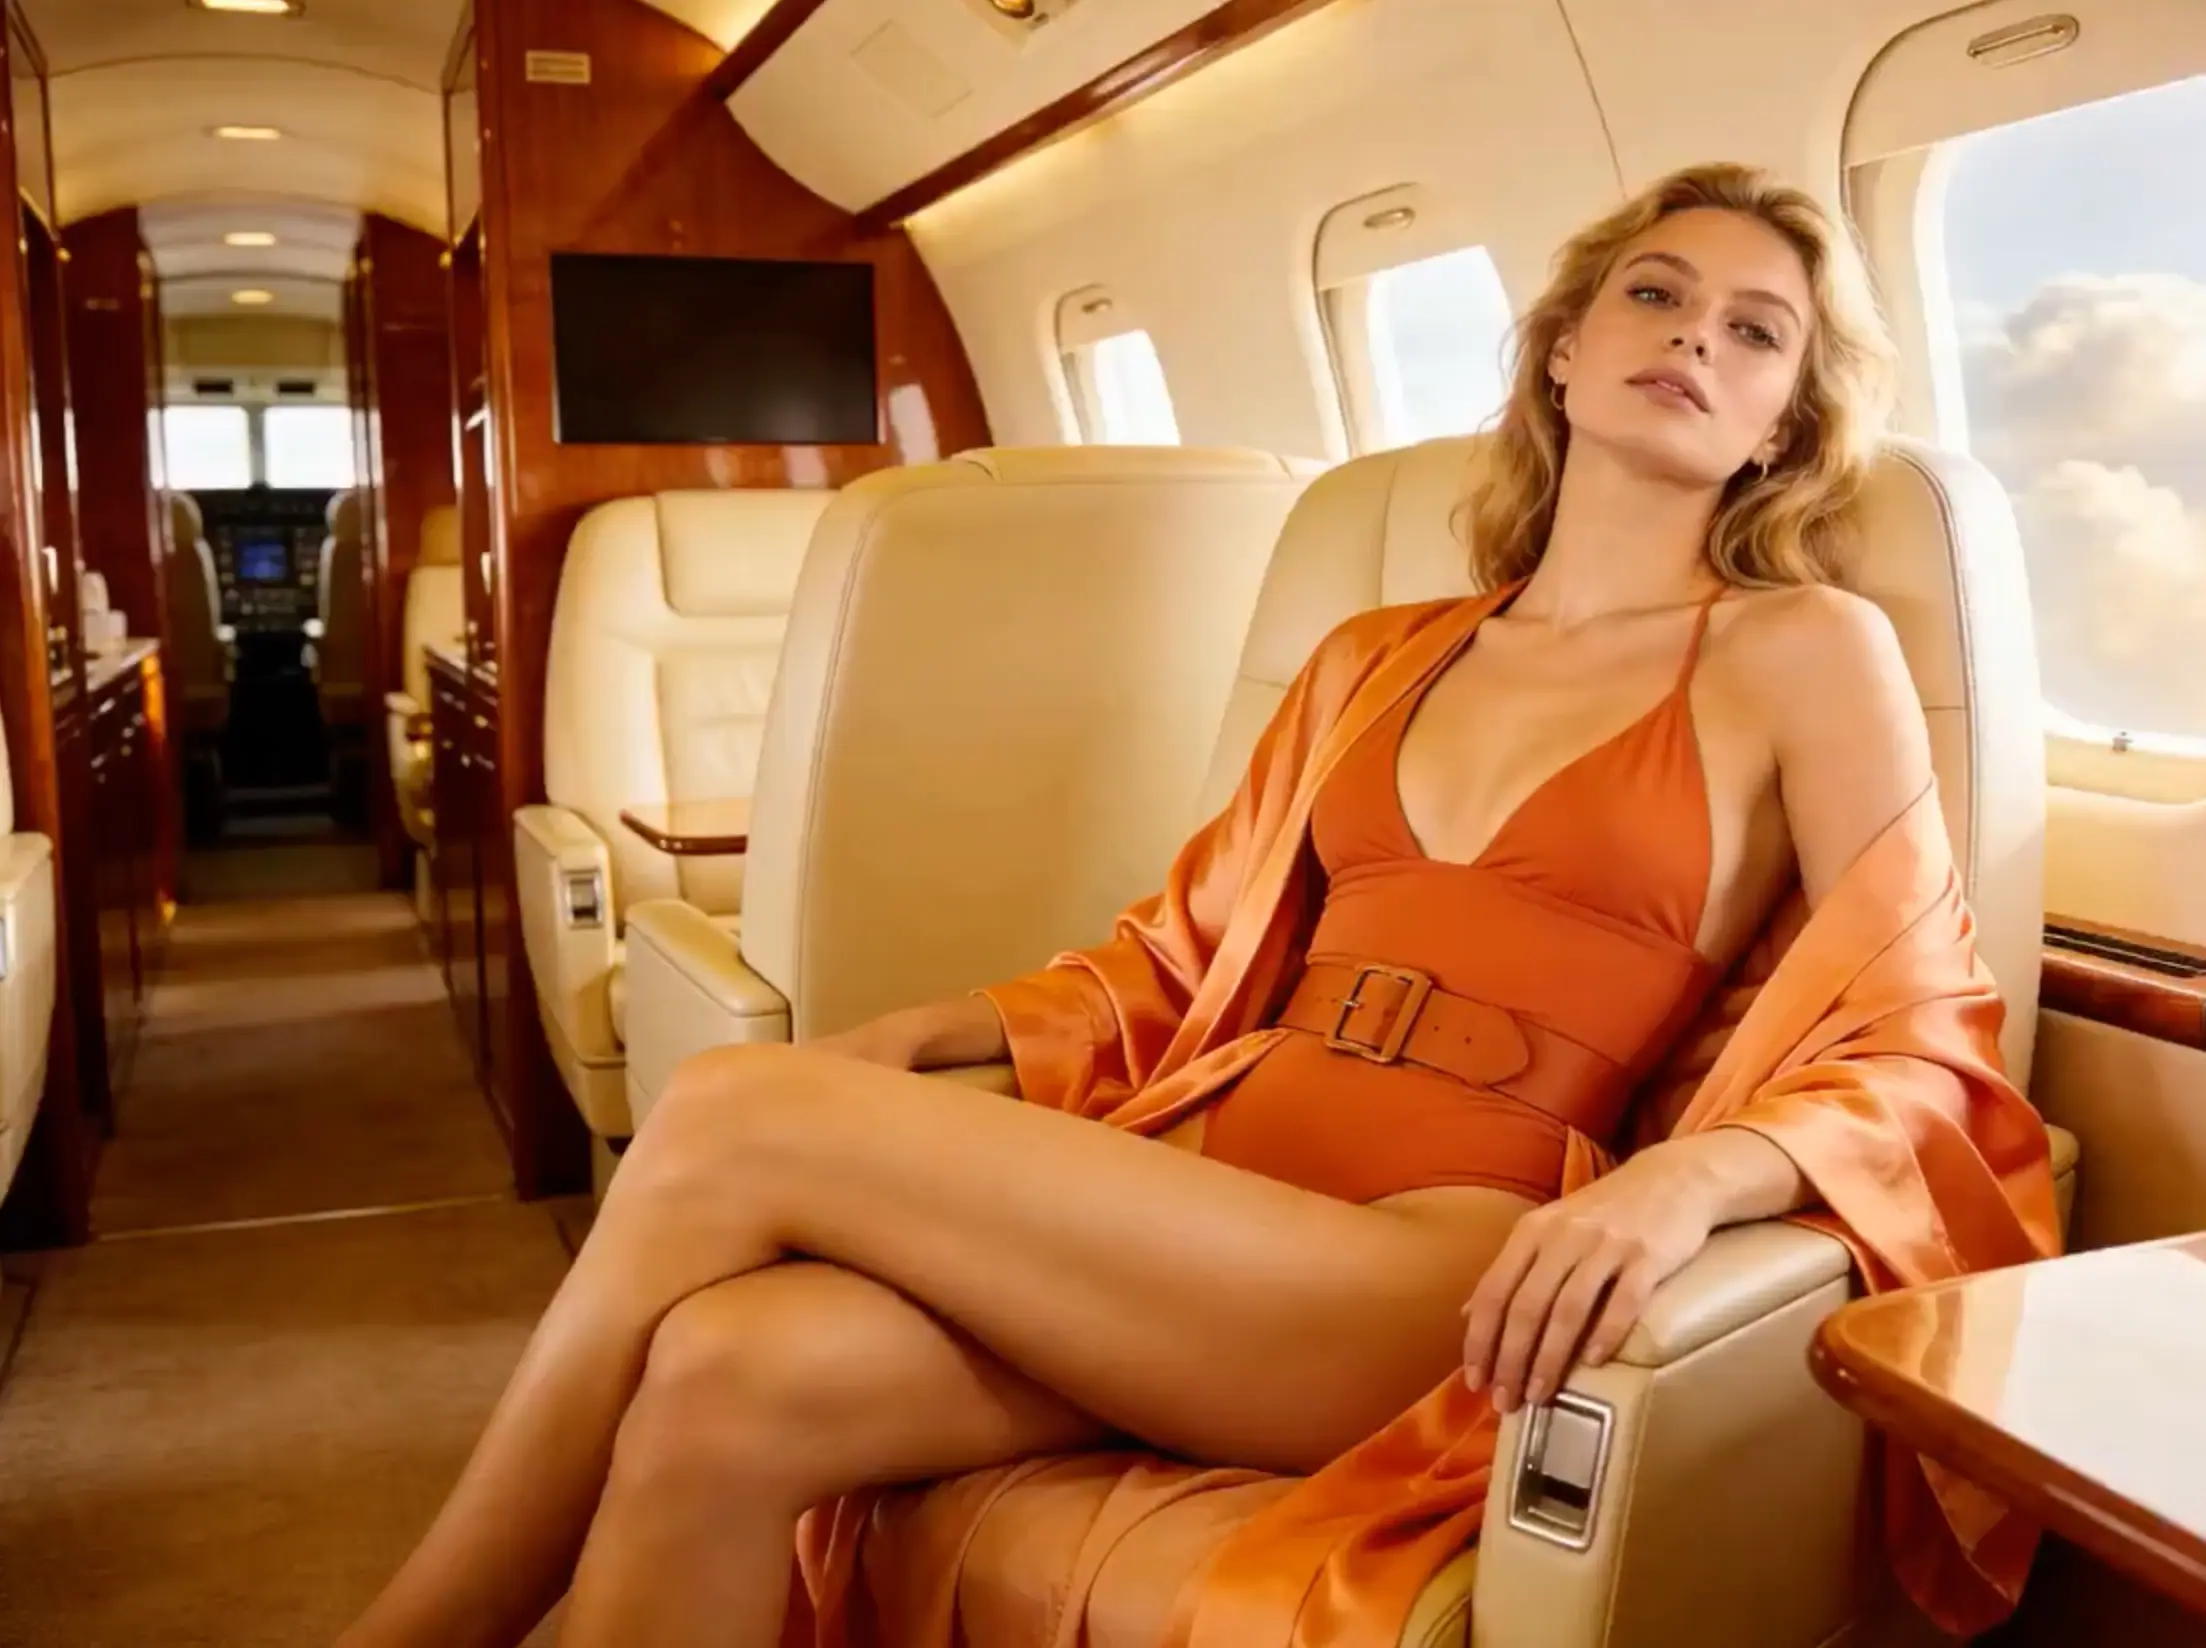
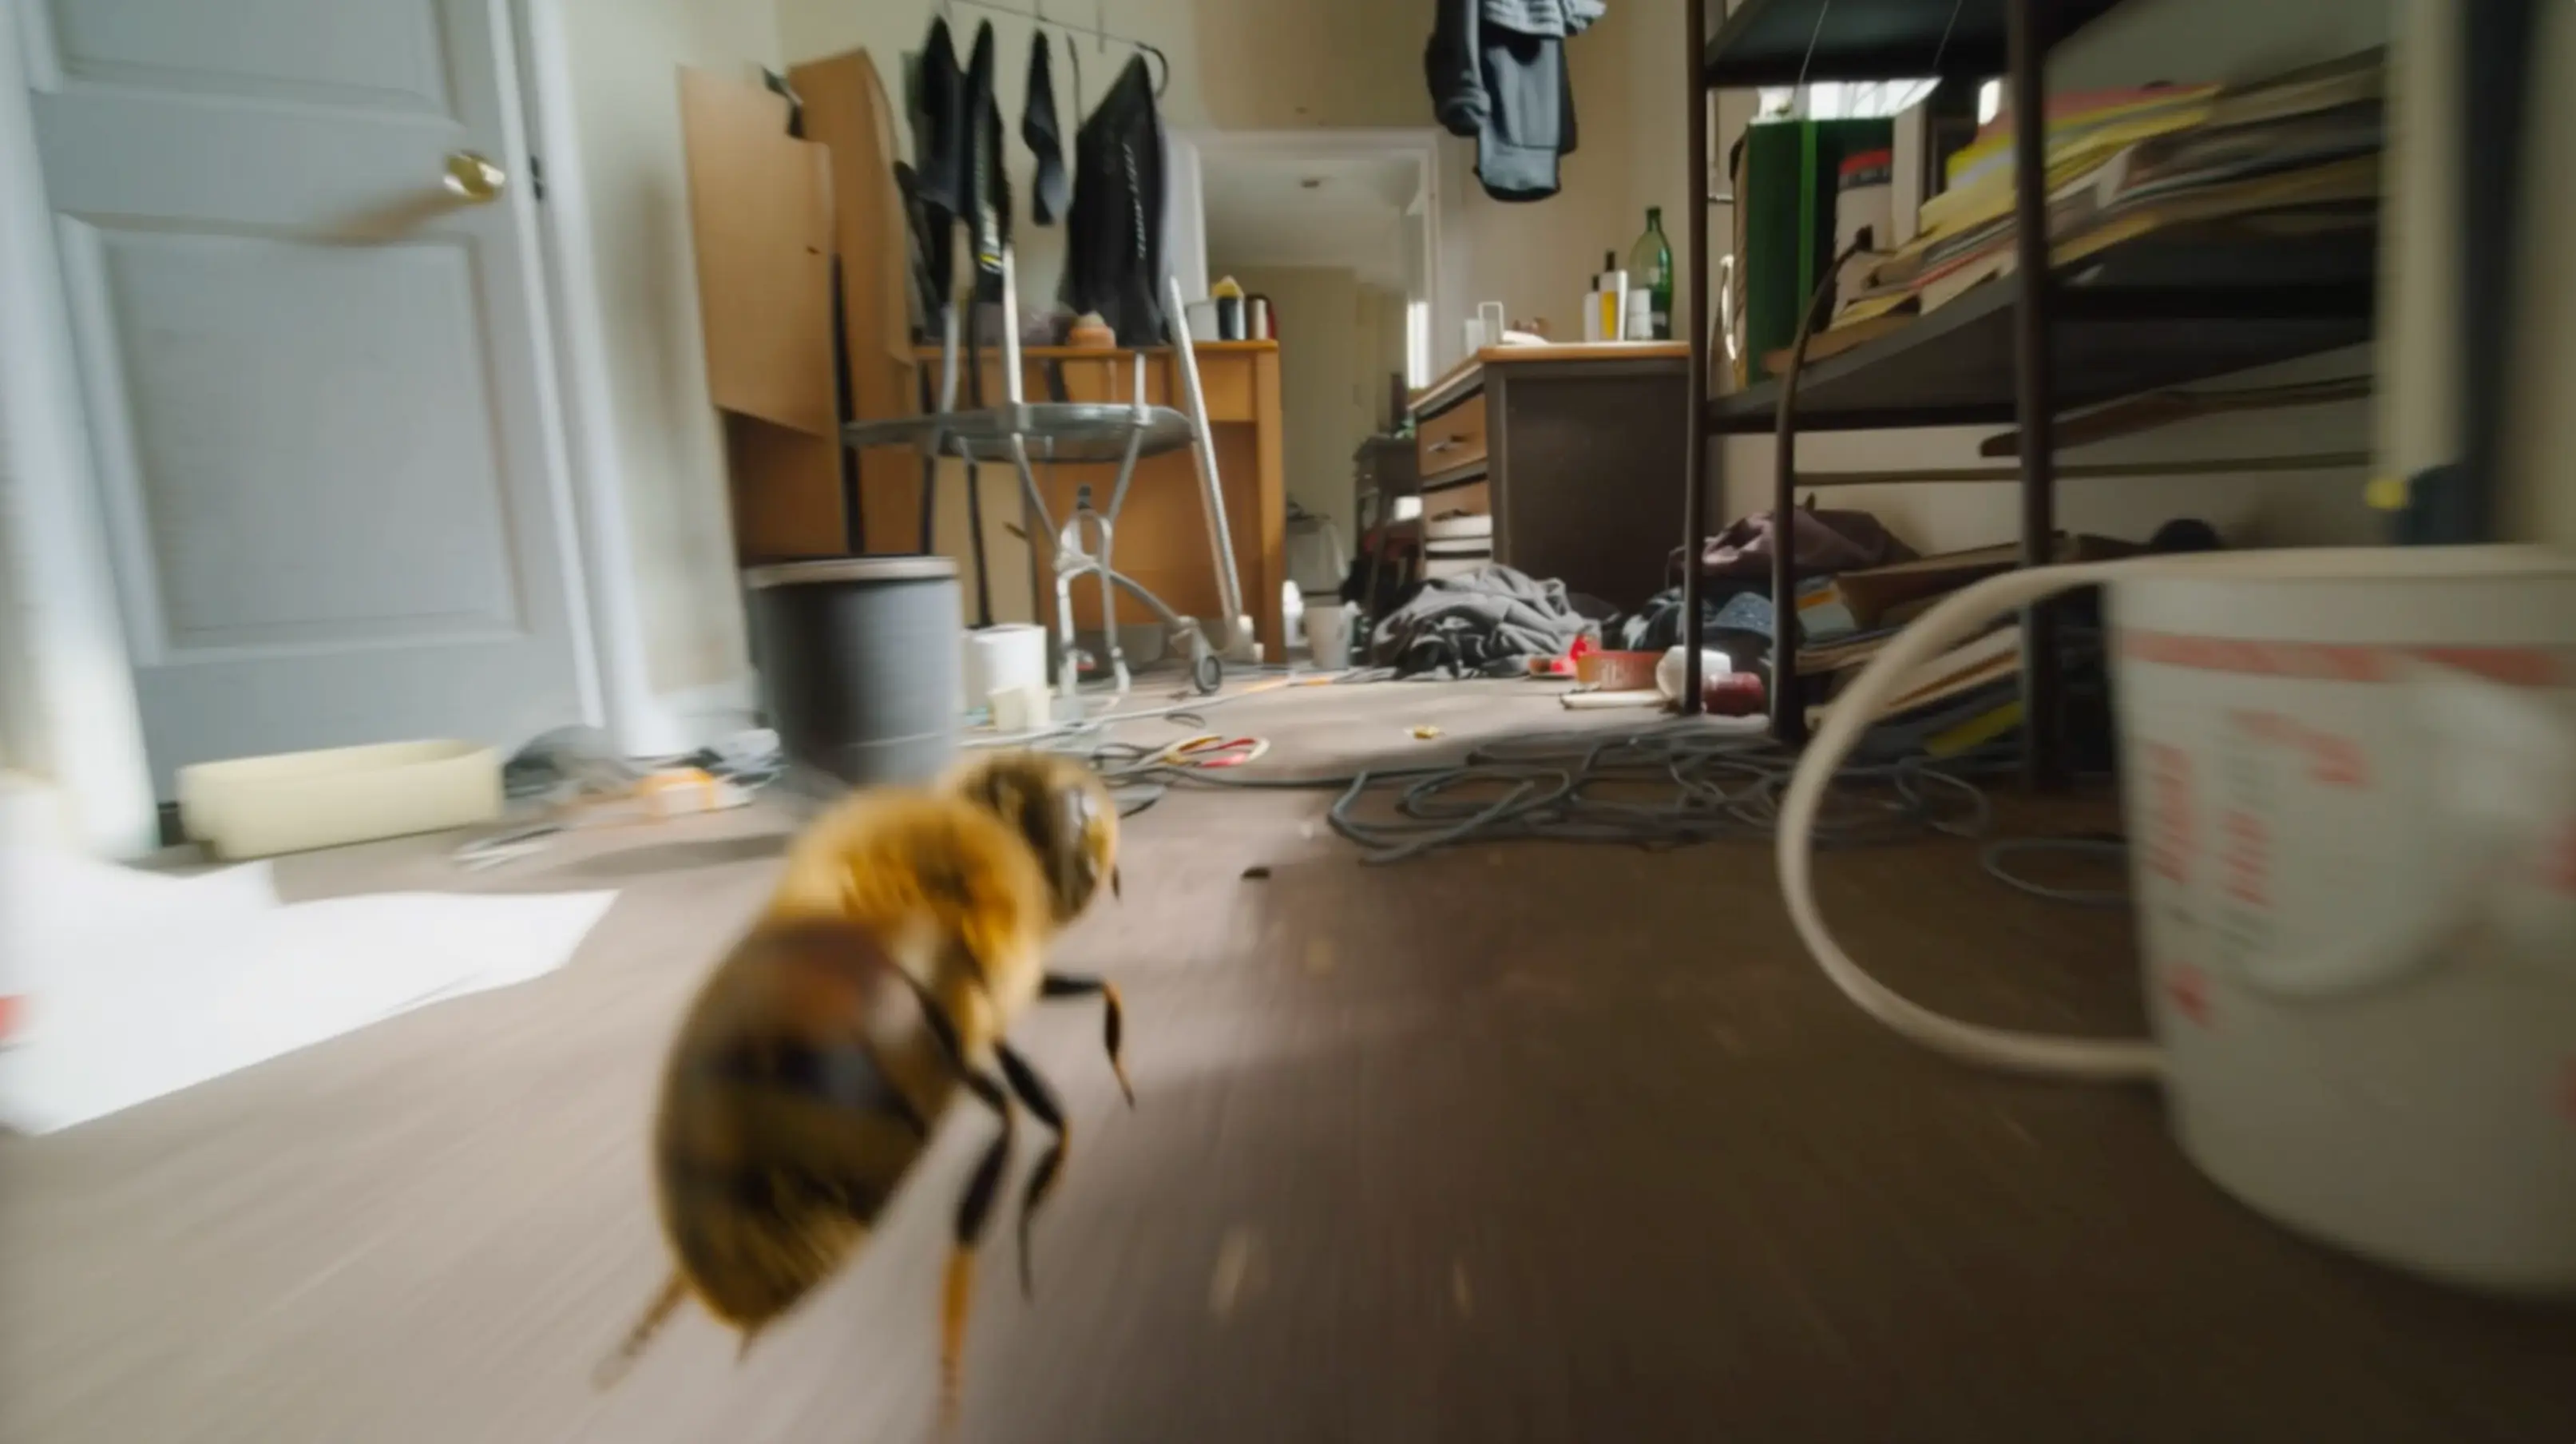
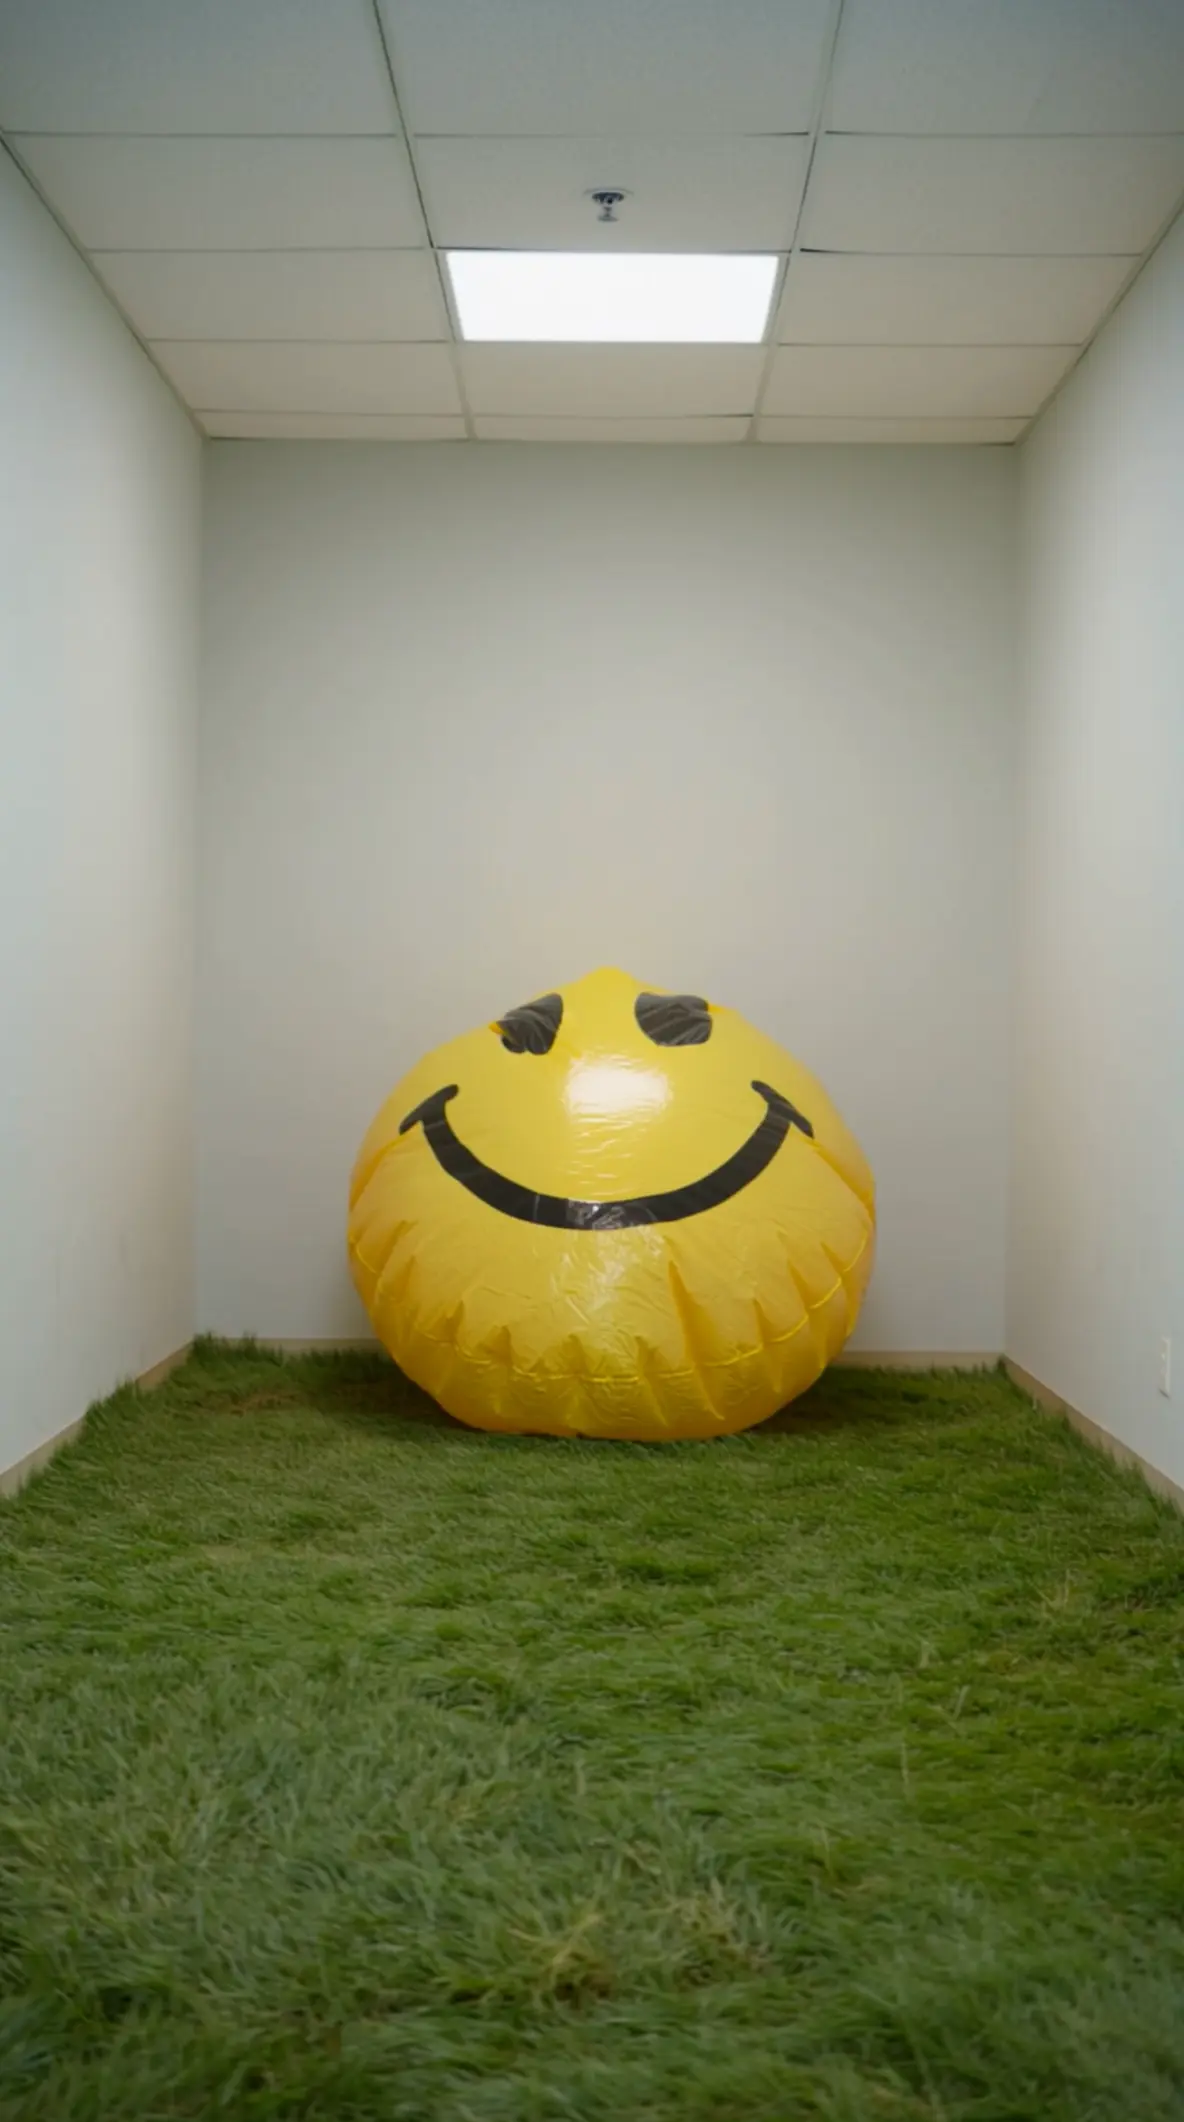
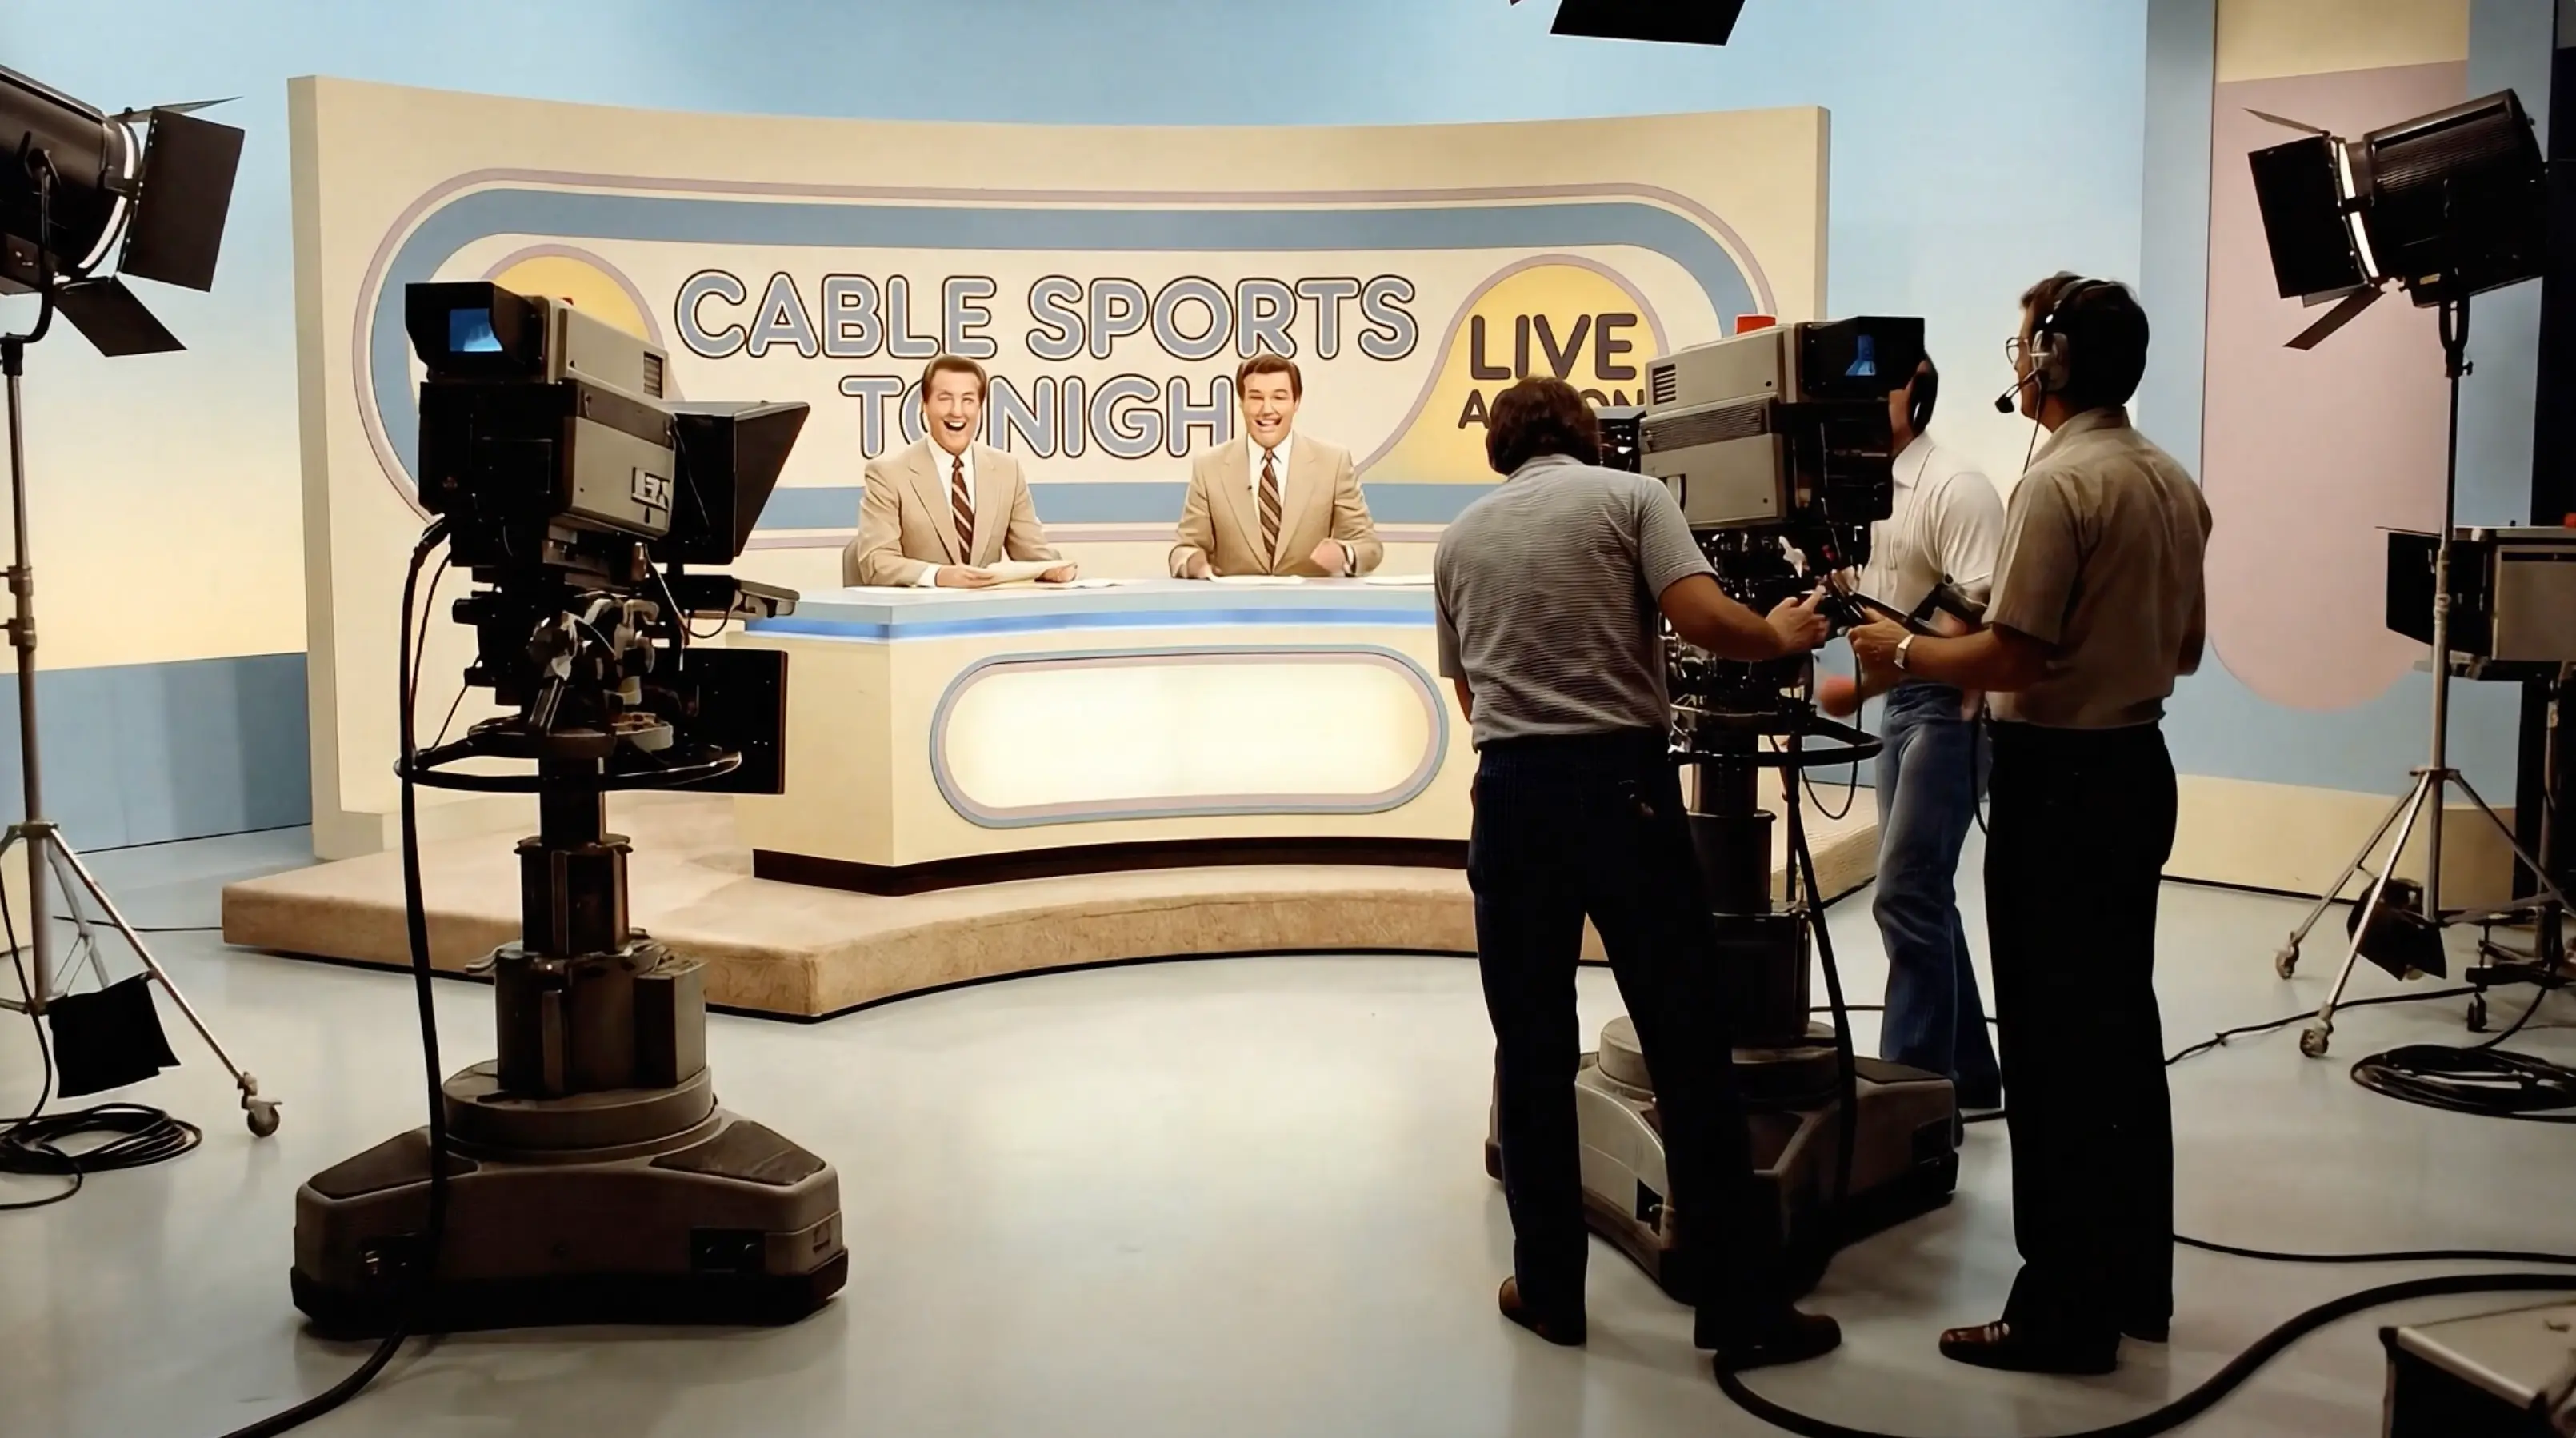
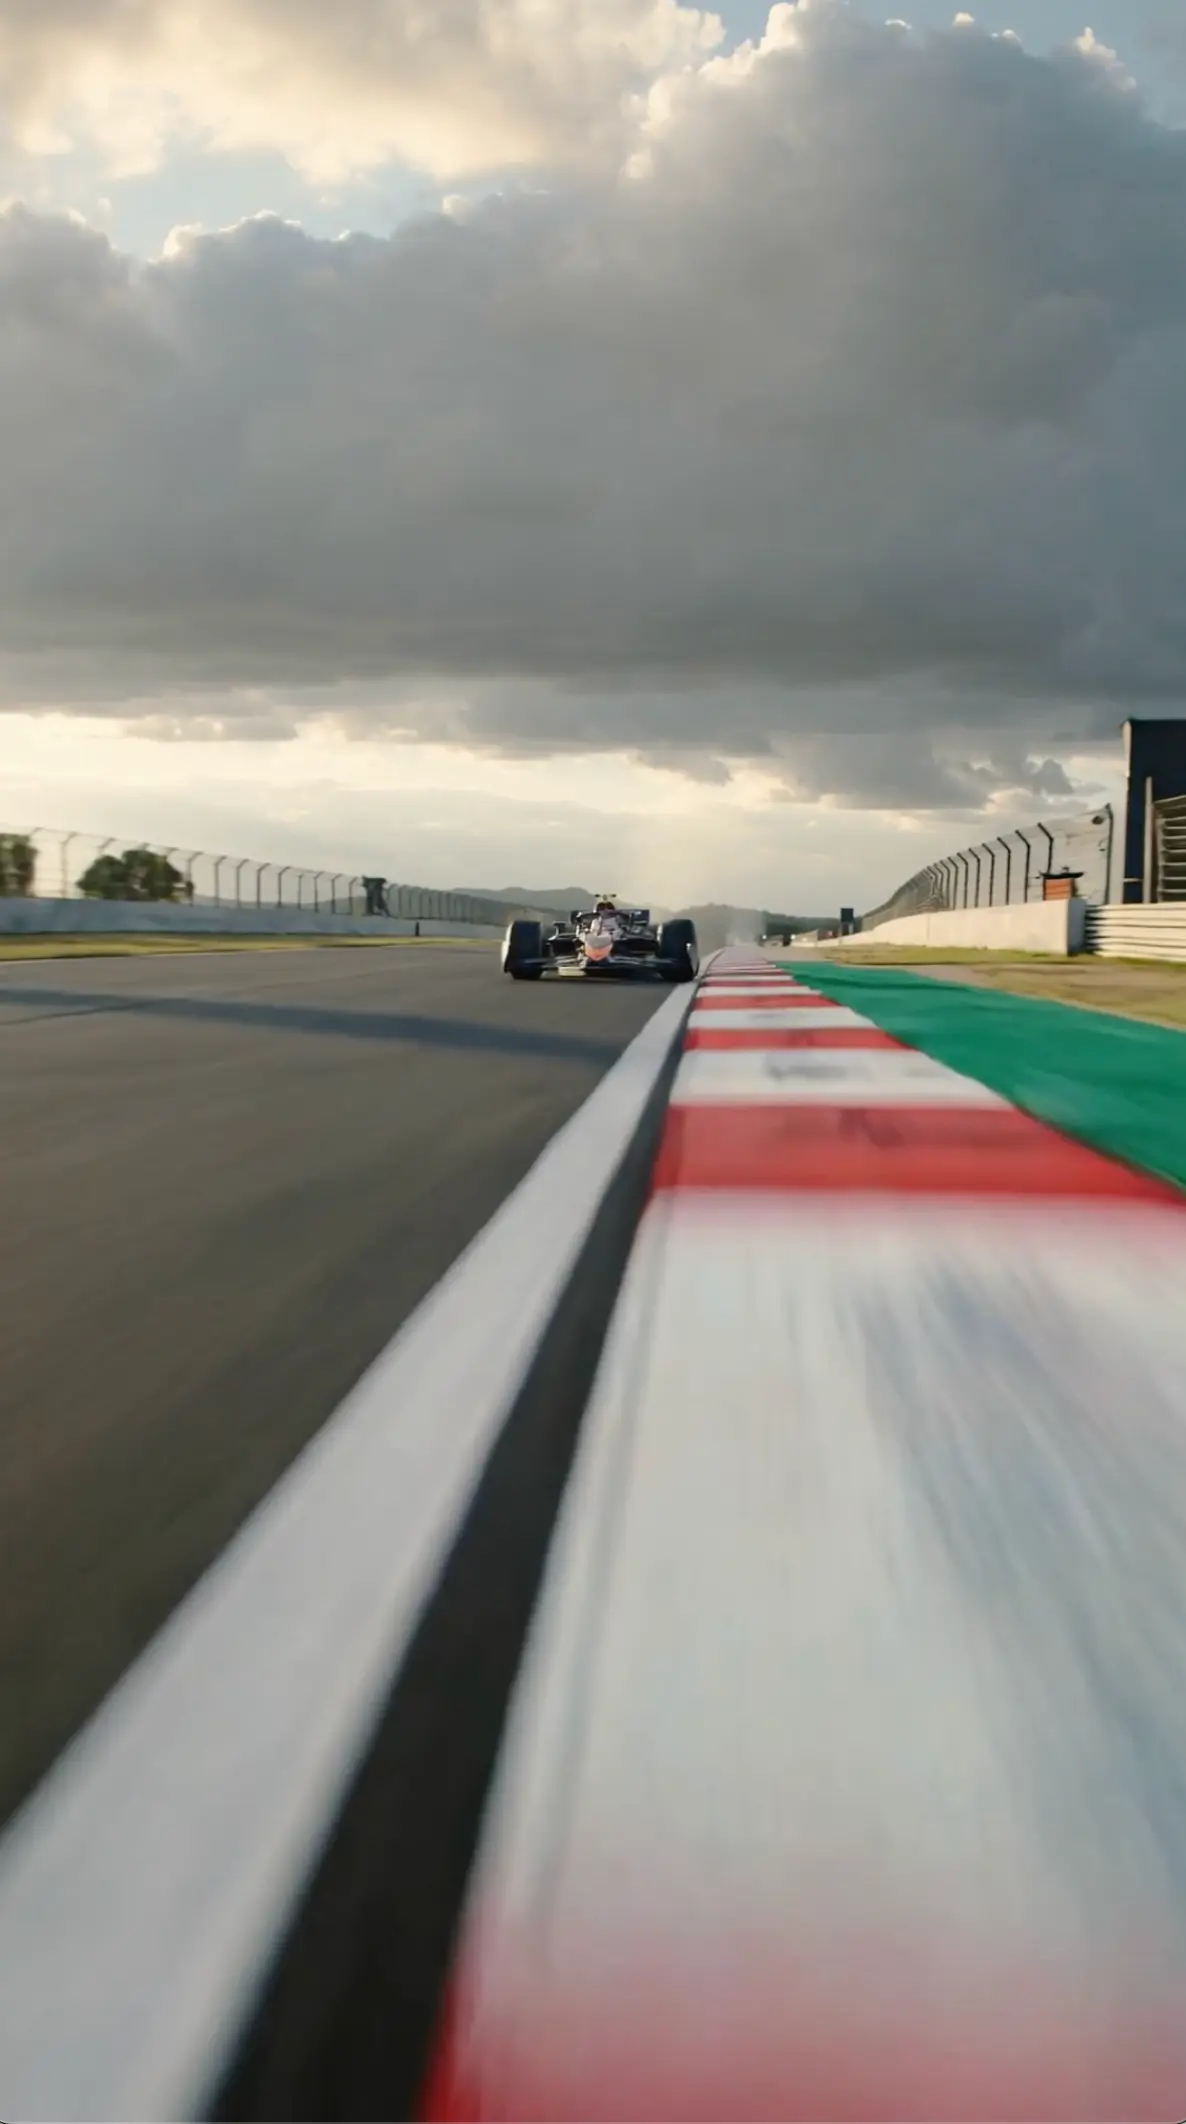
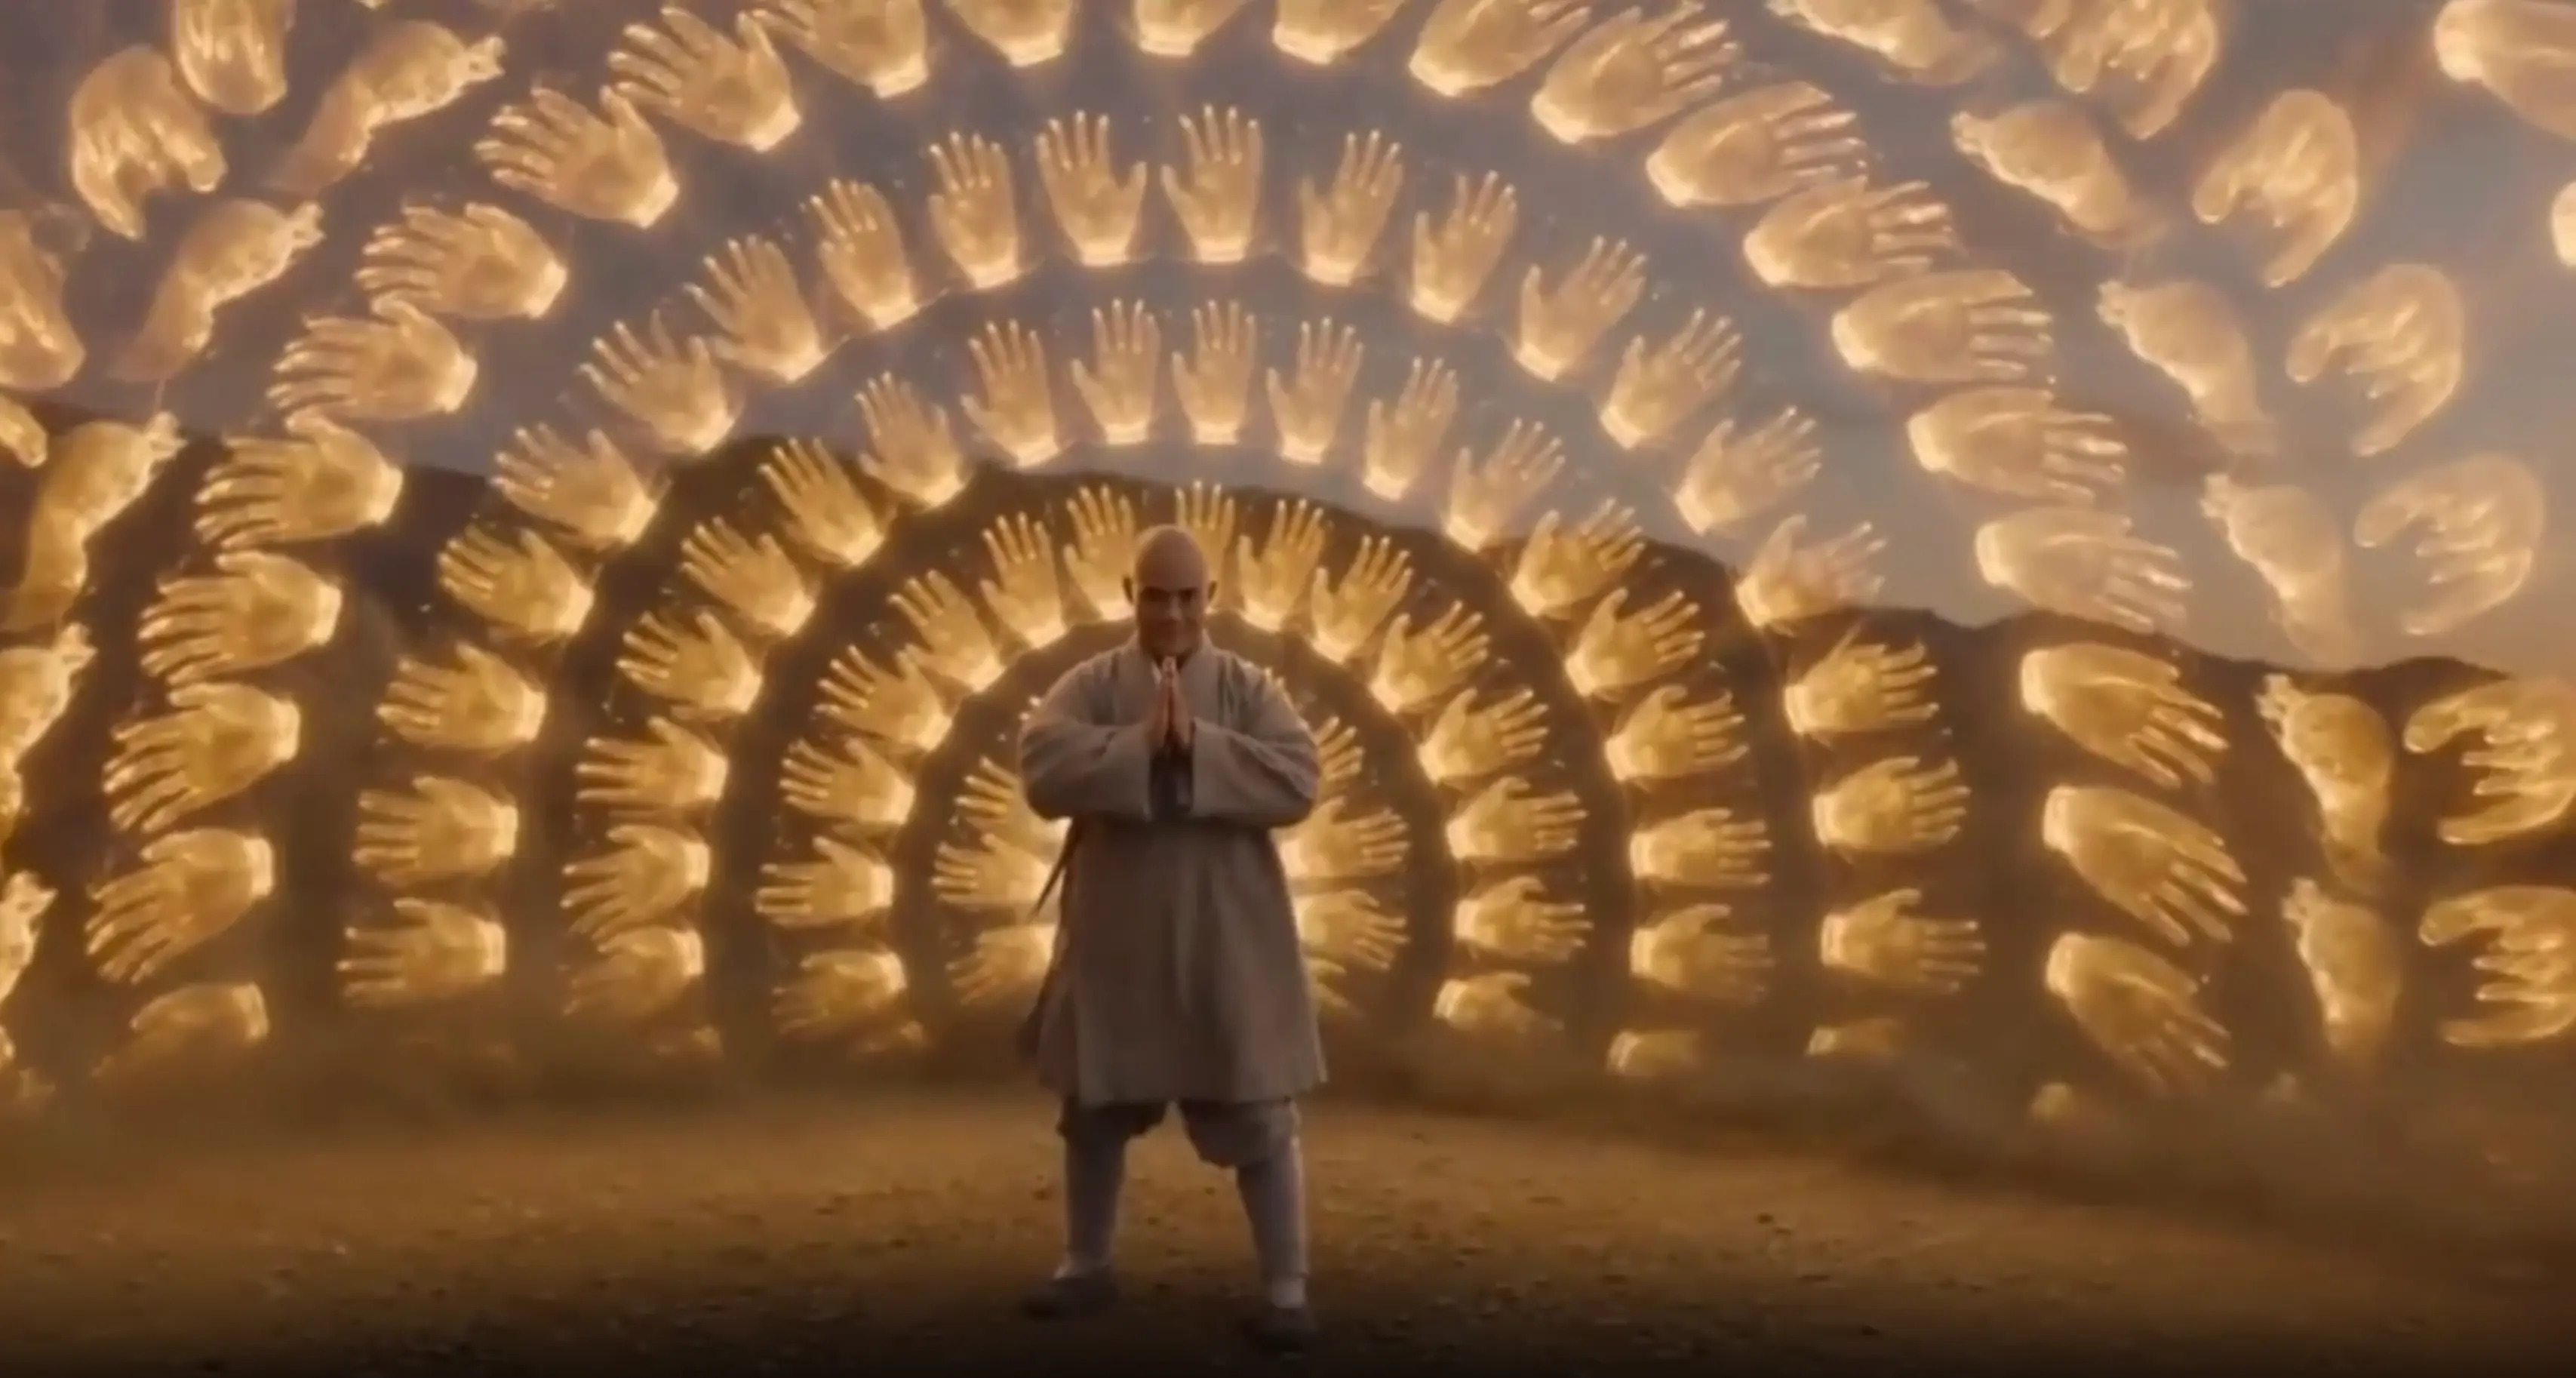
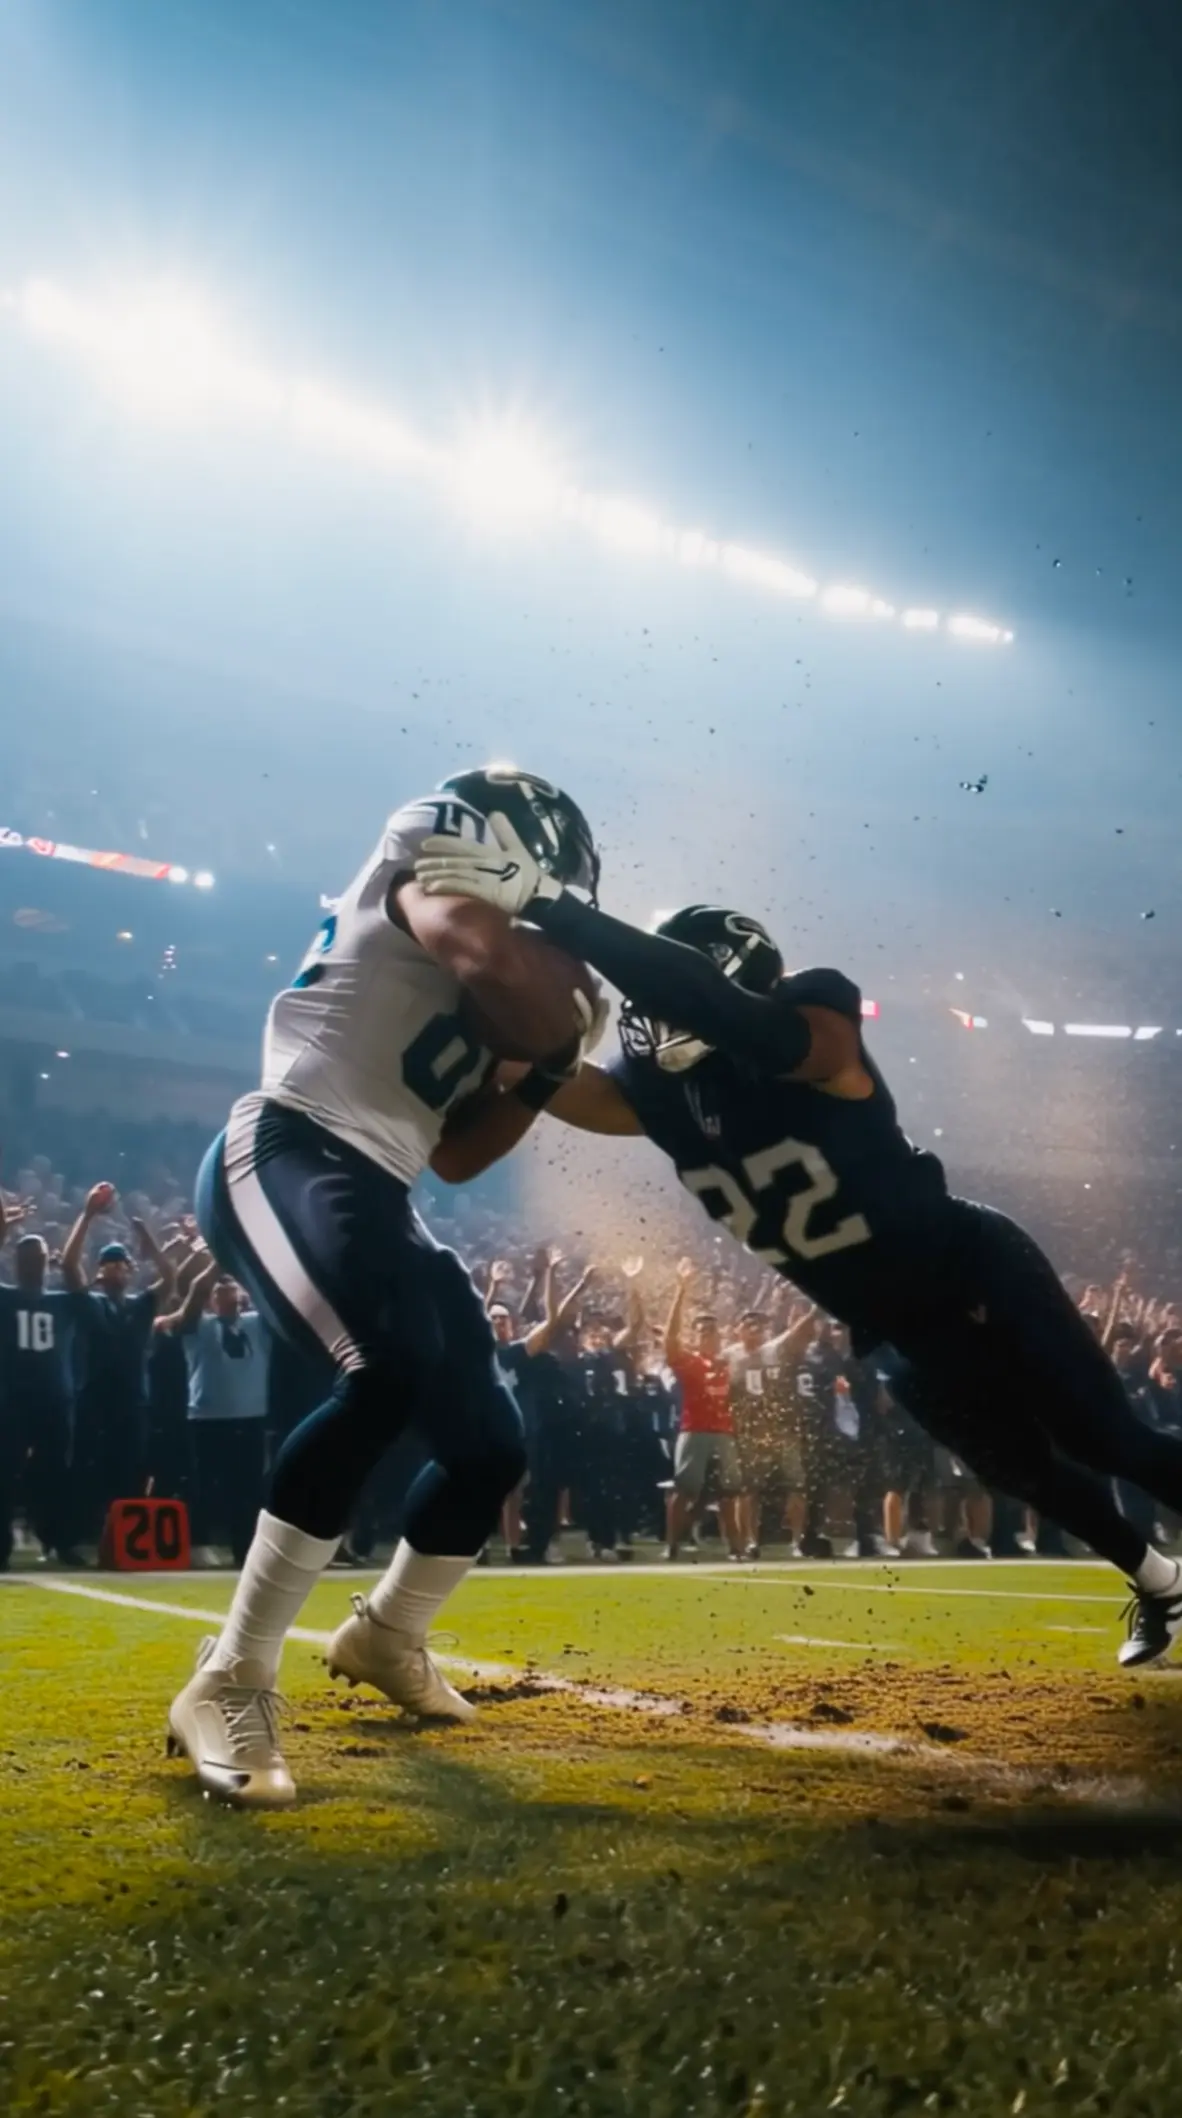
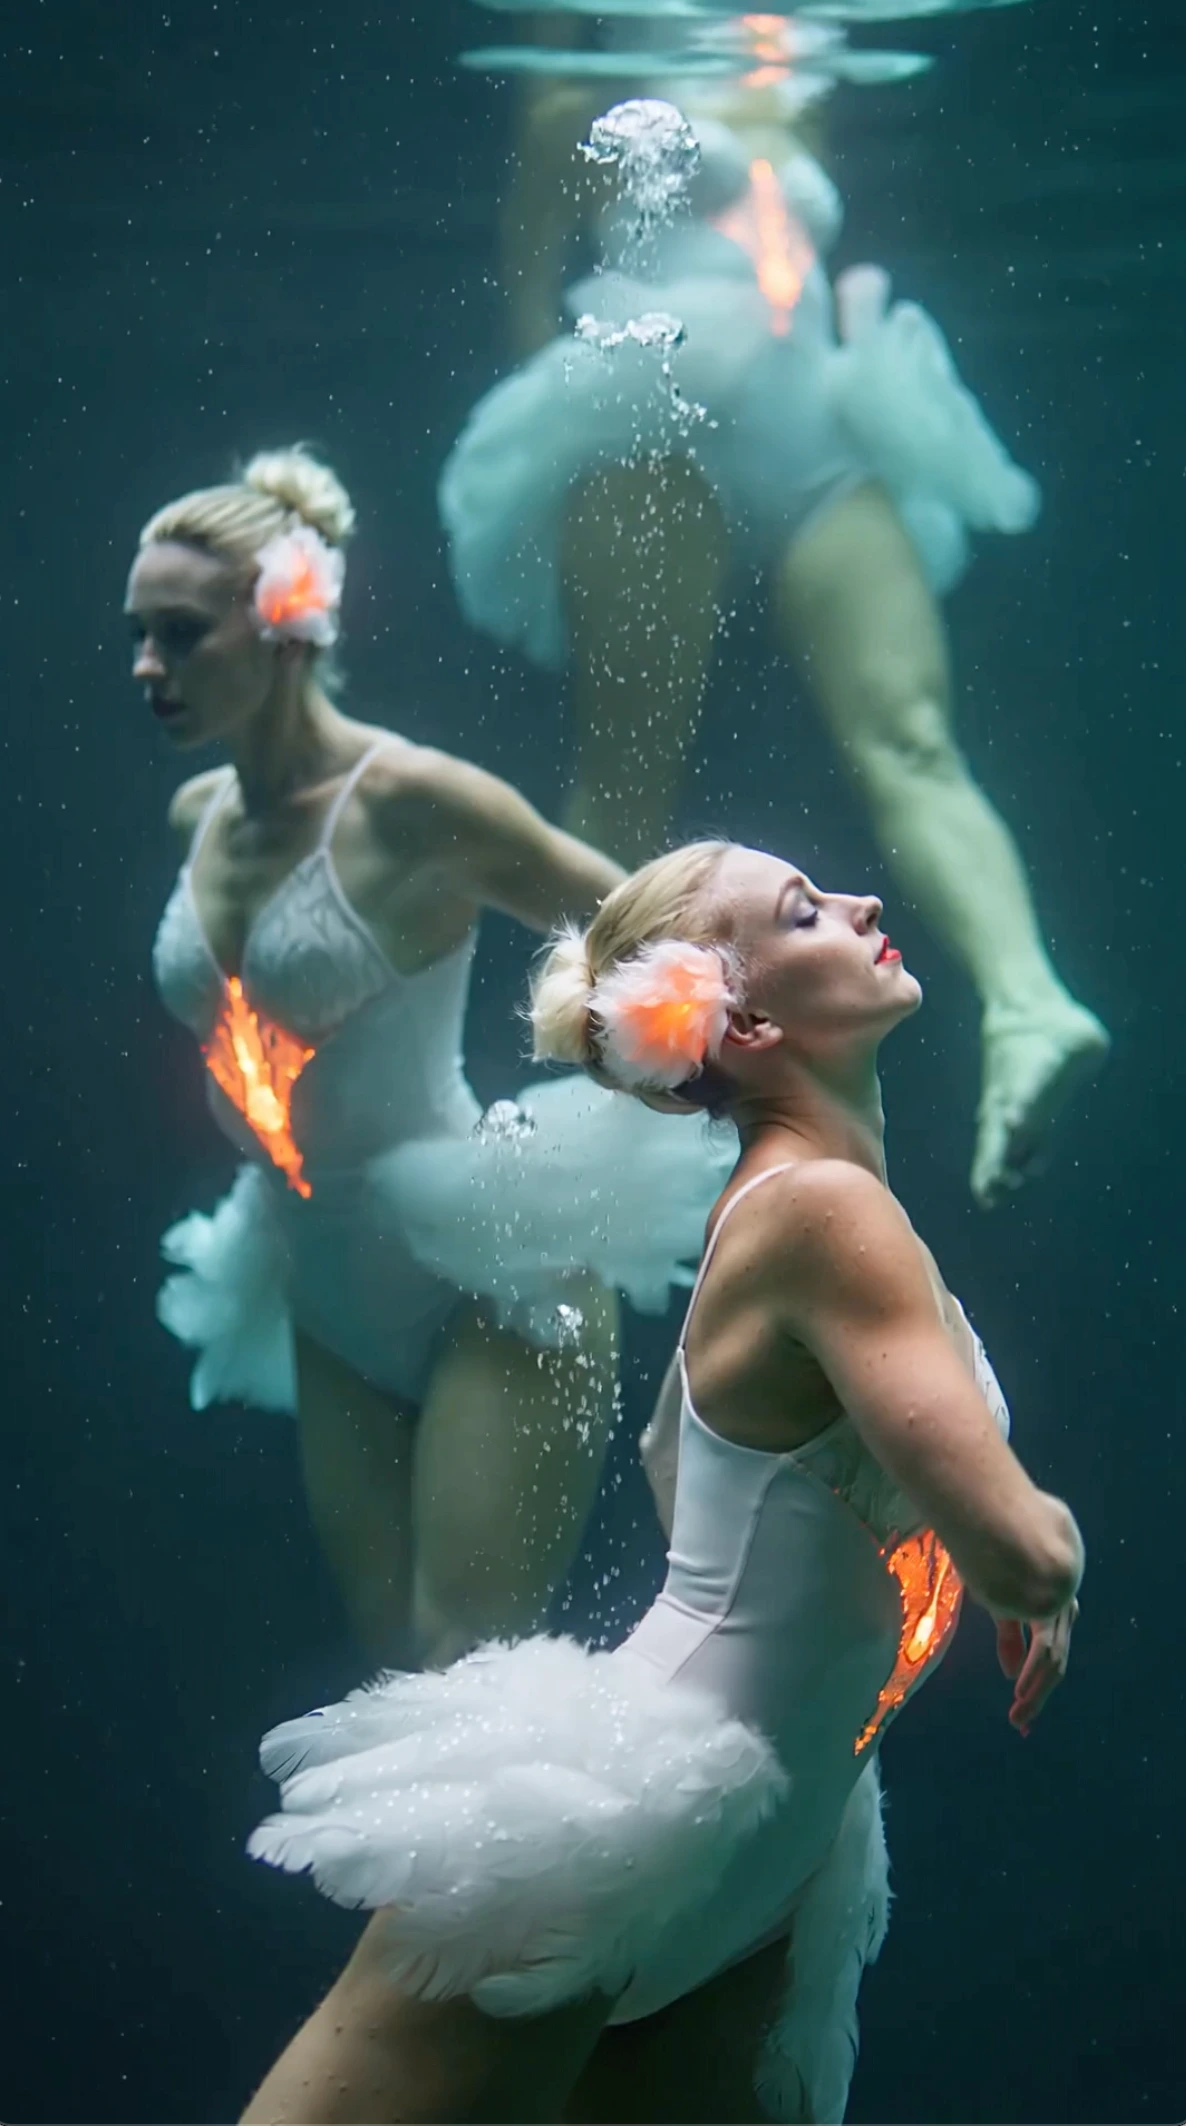
All videos and images shown are AI-generated synthetic content and do not depict real people or real events unless explicitly stated otherwise.
What Is New in Wan 3.0
Longer clips, sharper video, and clearer ways to start
Wan 3.0 makes everyday AI video easier to use.
You can create clips up to 1080p and 30 seconds, and start from the source material you already have—text, a photo, or a video.
That means fewer tiny clips to join later, and a better fit for social ads, product demos, and early scene tests.
Up to 1080p output
Get sharper video for product pages, ads, and client reviews when detail matters.
Clips up to 30 seconds
Fit more of a hook, demo, or short story into one clip instead of joining many short pieces.
Start from text, photo, or video
Write a scene, animate a photo, or restyle a video when the timing already works.
Why Creators Use Wan 3.0
Clear benefits for real projects
Draft concept videos up to 30 seconds before you book a shoot or final edit
Turn product and character photos into motion without rebuilding the look from scratch
Try new styles on footage you already have
Create in the browser so teammates can review drafts faster
How to change the look and keep the motion
What to do when the timing already works
Choose Source Footage Worth Transforming
Prefer clear takes with readable subjects and stable framing. Shaky or muddy clips make the generator invent structure you did not film. A short readable take usually teaches more than a long noisy one.
Decide What to Keep vs Change
List what must survive—timing, camera moves, product shape—and what may change in look or atmosphere. Clear keep-versus-change notes make review concrete. If a teammate cannot tell which list an instruction belongs to, rewrite the brief before you generate again. A short written split saves more time than another vague style paragraph.
Control How Much Changes
Ask for a light color shift when continuity matters, or a bolder look when exploring matters more than an exact match. Say how far the change should go in plain words. Stacking every style adjective at once usually fights the take you filmed instead of dressing it.
Protect Frame Continuity
Watch for flicker, faces that jump, and pacing breaks. Frame-to-frame consistency is the main thing to score when you restyle video. If the middle of the take falls apart while both ends look fine, dial the change down before you rewrite the whole style brief.
Reuse One Clip for Variants
Generate alternate looks from the same take so campaign tests share timing while exploring different treatments. Shared motion makes A/B comparison fairer for everyone who already approved the performance.
Leave Still-Only Jobs Elsewhere
If you only have a photo, use image to video. This path expects a clip as the motion backbone. Forcing a still into a footage workflow usually means you are solving the wrong problem on the wrong page.
How this workflow works
From upload to a keep-versus-change review
Upload the clip
Choose a take with clear motion and a subject you want to keep. Short, readable takes are easier to restyle because reviewers can compare beginning, middle, and end without fatigue.
Describe the transformation
Write what should change and what must remain. Say how far the look should shift in plain words instead of stacking every style adjective. A short two-column keep/change note beats a poetic paragraph.
Generate and check continuity
Review the clip frame by frame. Adjust only the keep/change notes or how far the look shifts before the next pass. If the subject holds up but the color is wrong, change the look words only.
Why start from footage
What you gain from a clip-led transform path
Motion you already captured
Camera work and timing come from the take, so prompts focus on look instead of inventing movement. You are dressing a performance you already have, not casting a new one from words. That inheritance is the point of this page when the acting and camera already work.
Faster campaign variants
One clip can become multiple treatments for channel tests without reshooting. Shared timing keeps edits interchangeable when media buyers want several moods from the same action.
Clearer creative feedback
Reviewers compare against the original take, which makes notes about the restyle concrete. “Keep the hand movement, soften the color” is easier to act on than vague taste comments.
Less rebuild work
You transform a take you already have instead of rebuilding the scene from a text prompt. When the acting and camera already work, starting over from adjectives is usually the expensive detour.
Where clip transforms help most
Jobs that begin with an existing take
Social style variants
Create alternate looks from one take for platform testing while keeping timing aligned. Editors can ship several moods without asking talent to perform the same beat again. Keep the keep-list identical across variants so only the look changes.
New look, same motion
Shift a clip into new colors or a new art direction when the original motion is already approved. Protect the camera and timing first, then explore surface and atmosphere.
Scene treatment changes
Shift the mood or the surface detail of a scene while keeping the filmed action. Useful when the action is right but the world around it needs a different tone for a campaign chapter.
Pitch options from one take
Show clients several treatments from the same take before committing. Side-by-side pitches stay fair when every option shares the same motion.
Common questions
Short answers before you upload
What does Wan 3.0 video to video do?
With Wan 3.0 video to video, you upload a clip, describe the change you want, and get a new version back in the browser. The motion you filmed guides the result instead of a blank prompt.
What footage works best?
Clear subjects, stable framing, and visible motion help. Soft, noisy, or heavily compressed clips make frame-to-frame continuity harder to hold. If you cannot pause and recognize the subject, fix the take first.
How do I decide keep versus change?
Write two short lists before prompting: elements that must survive, and elements allowed to change. That split guides how strongly you ask the look to shift, and it keeps feedback meetings shorter.
How is Wan 3.0 video to video different from image to video?
Wan 3.0 image to video starts from a photo. Wan 3.0 video to video starts from source footage and rebuilds the look around motion that already exists. Choose based on whether the timing is already filmed and approved.
What output sizes can I create?
Wan 3.0 supports 1080p video output and clips up to 30 seconds. Restyles work best when you confirm continuity first, then raise length or resolution once the keep list still holds.
Transform a clip with Wan 3.0
Upload footage, say what to keep and what to change, and check consistency before you push the look further
Review workflow tips